Host your site on the internet!
Now that you’ve created your own personal website, let’s host it on the internet so everyone can access it! You will need a GitHub account to do so. If you don’t have one, create one here .
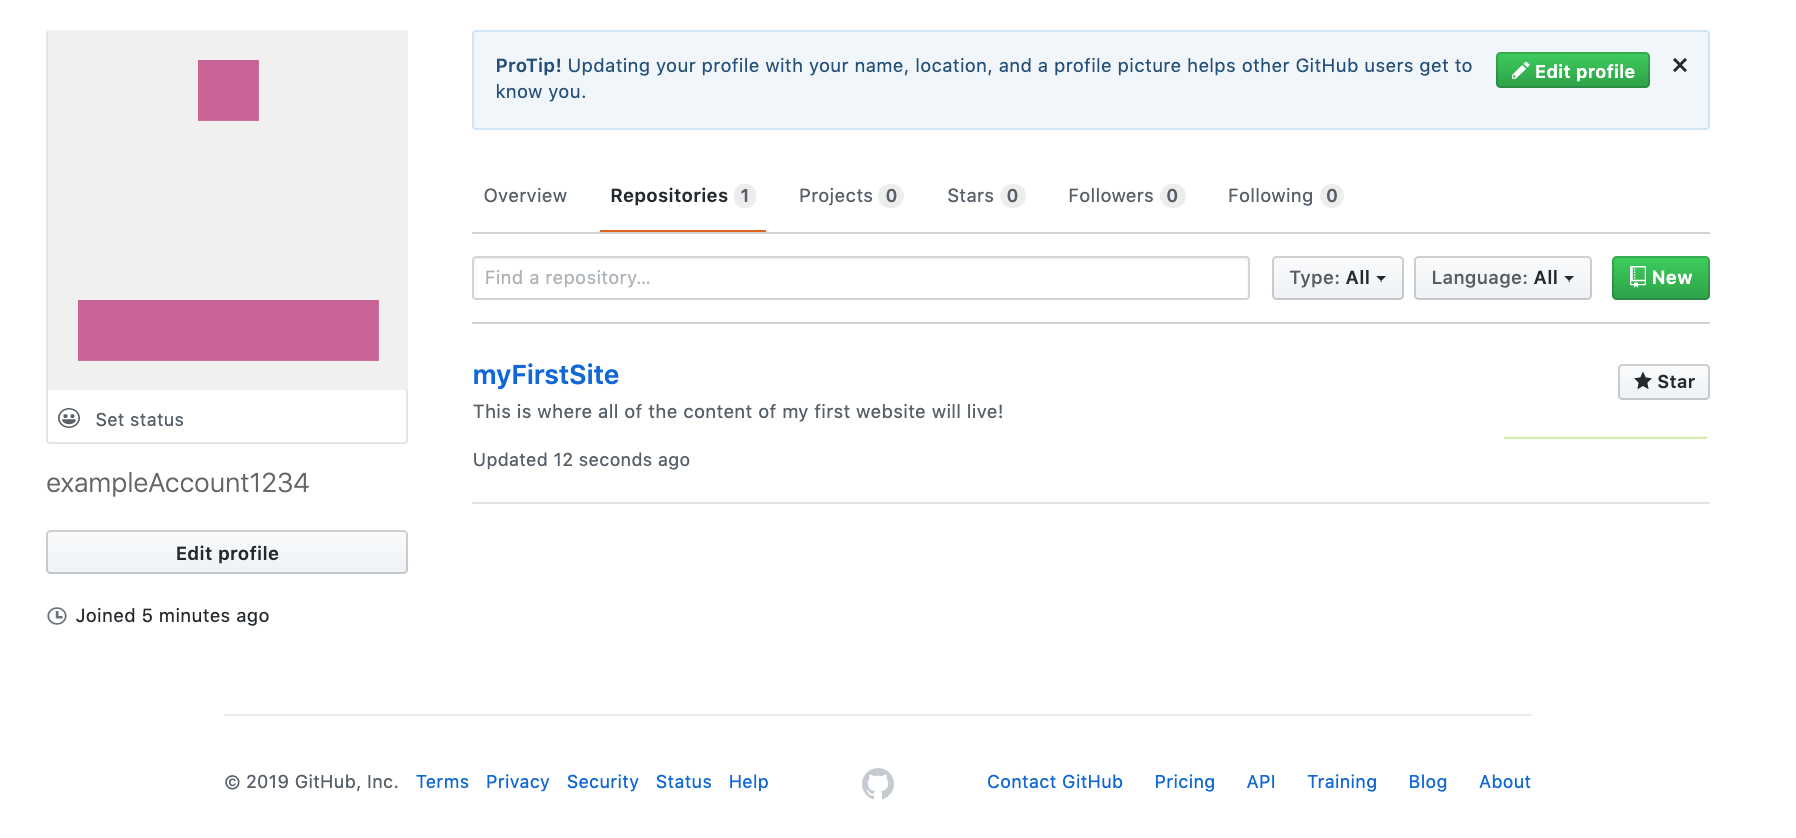
Once you have created your account and verified your email address, you will land on this page.
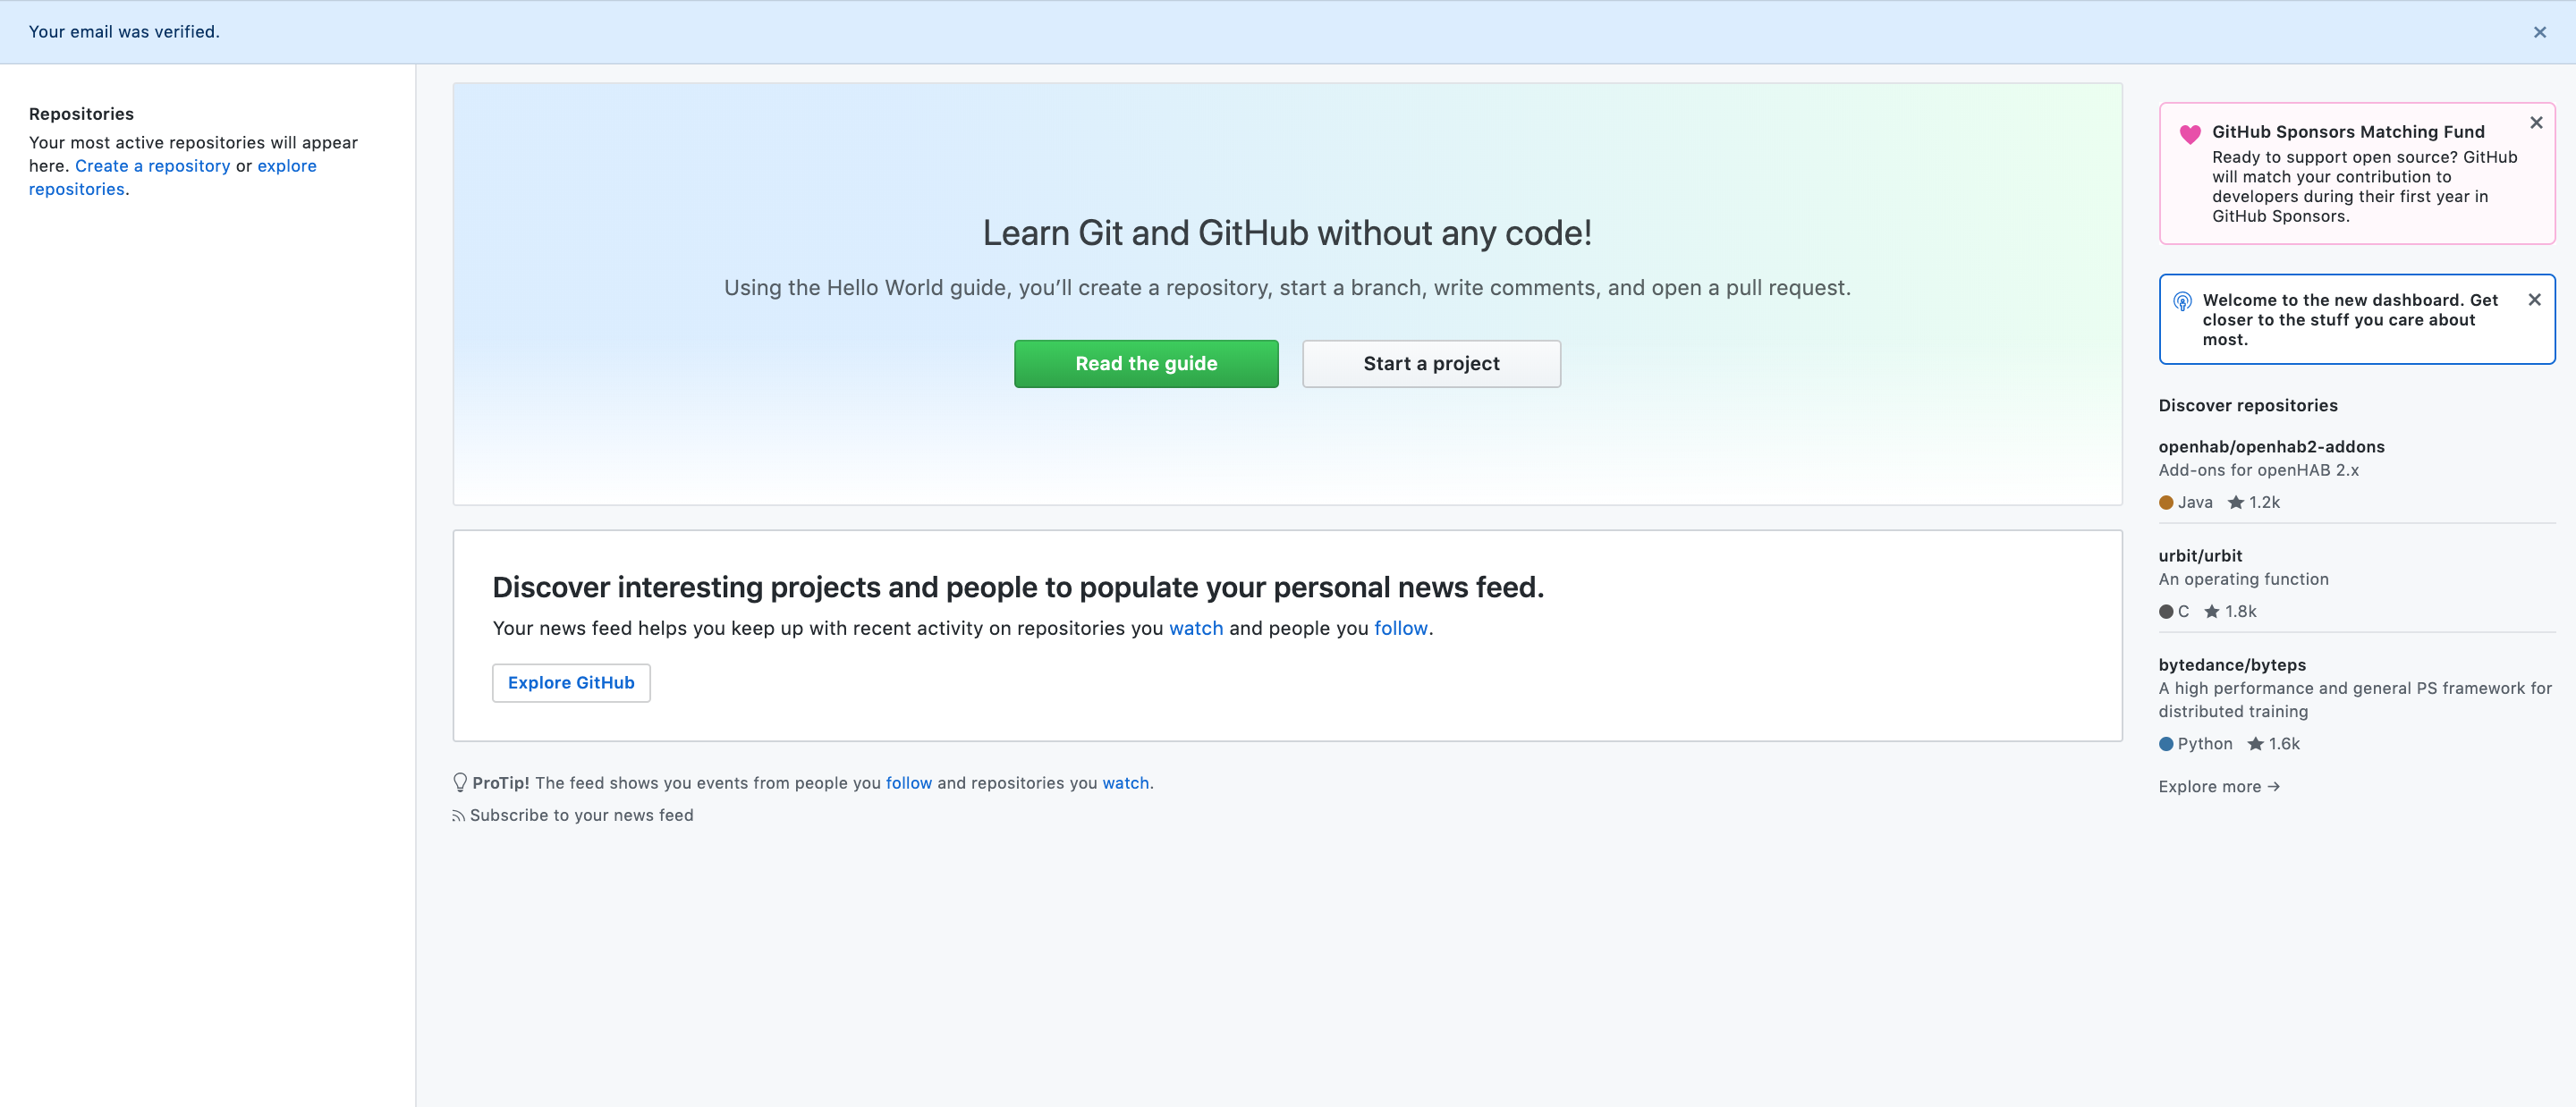
Now, you will need to create a new repository to store the contents of your site! Think of a repository as a giant folder that can store lots of other files and folders for a given project. You can create one by selecting Start a Project or Create a new repository. Two very important things to keep in mind:
- Name your repo without any spaces. But you can use dashes or capitalization to replicate spaces!
- Check the box
Initialize this repository with a README
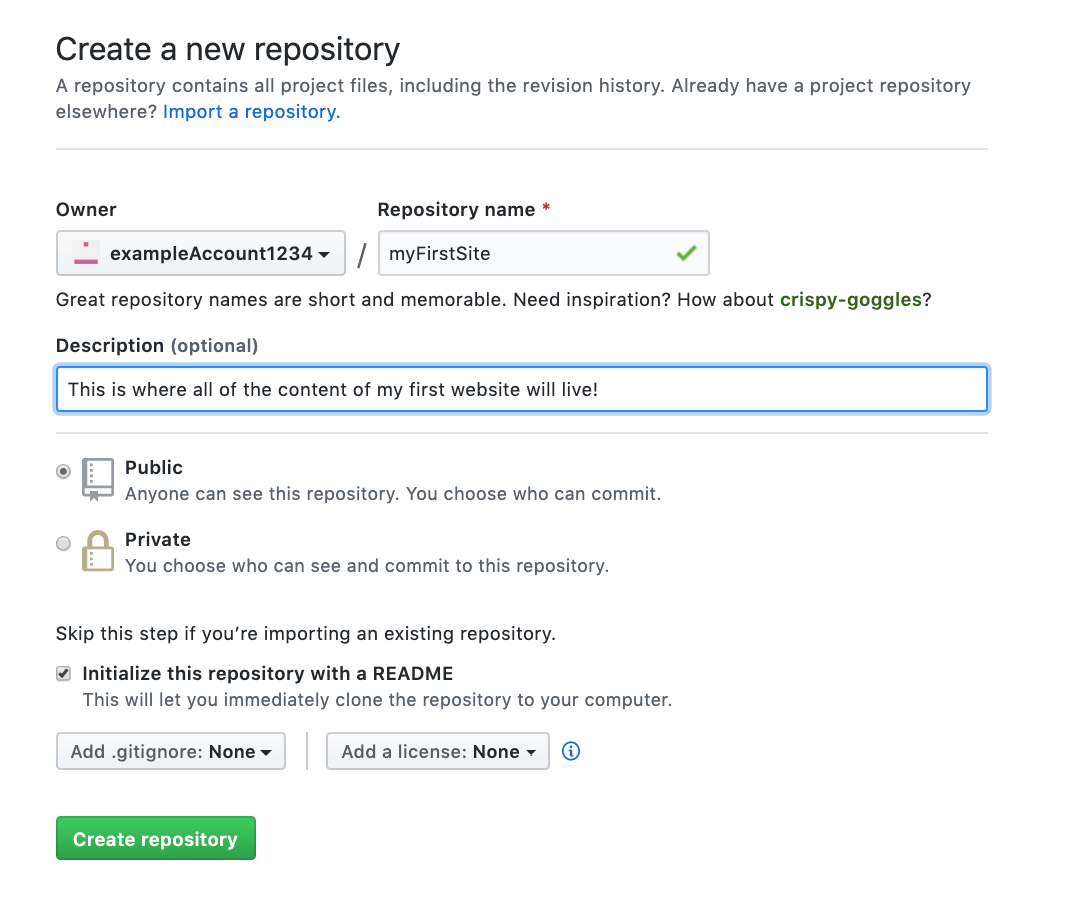
Congratulations! You have created your first repo! Upload all your files and folders that belong to your site here.
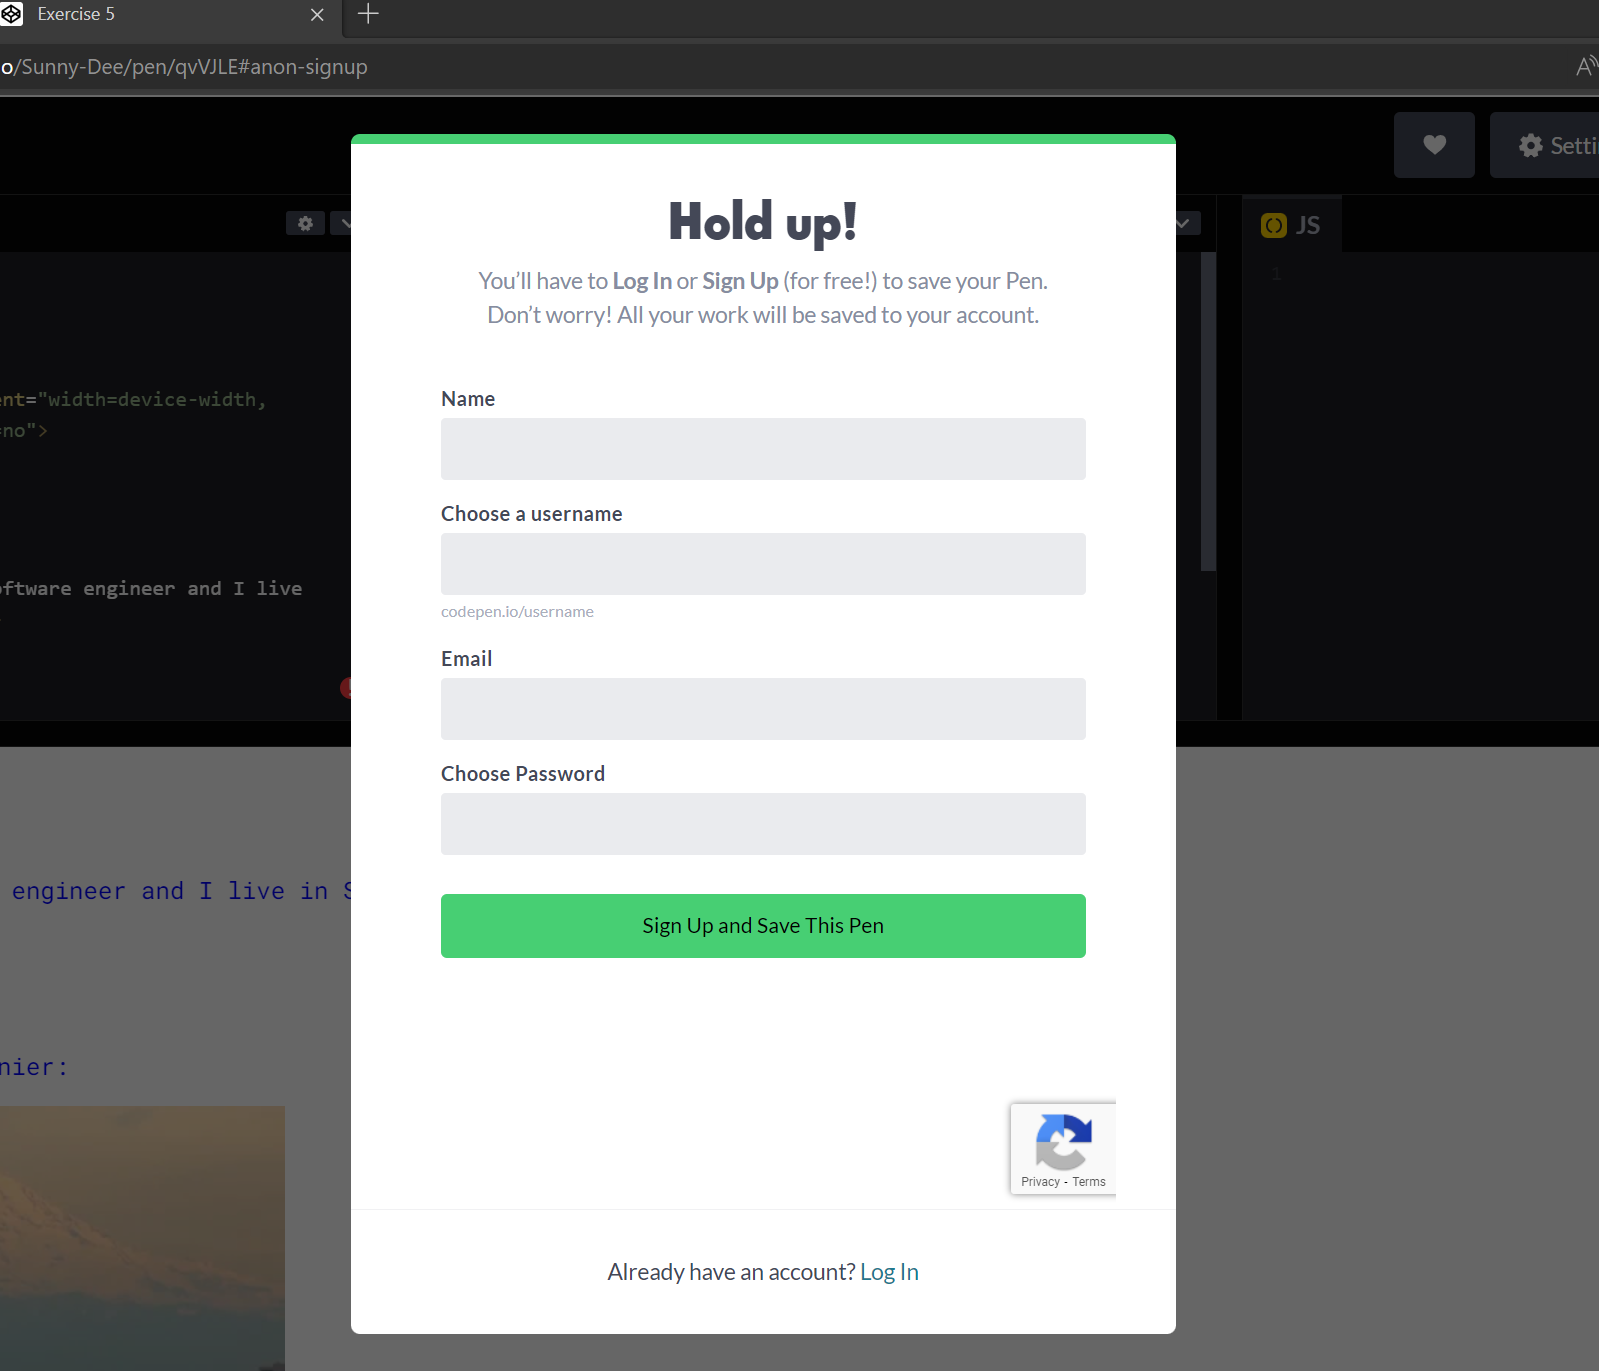
First we need to get our files out of Codepen. You need to either sign in or sign up for a Codepen account in order to export your files. Starting from the Codepen you created in the previous step, click inside the html tab and hit ctrl+s on your keyboard to save. This should trigger a popup asking you to sign in or create an account. Do not use the “Sign up” or “Log in” buttons on the top right as this will cause you to lose your work.
Once you are signed in, click on “Export” in the bottom right corner and choose “Export .zip”. This will download a zip folder to your computer. Go to this folder, right click on the zip and choose “Extract” or “Extract All”. This should open a new window with the extracted folder. Click on “exercise-5” folder and then “dist” folder. Here you should see index.html and style.css. These are the files you need to upload to Github.
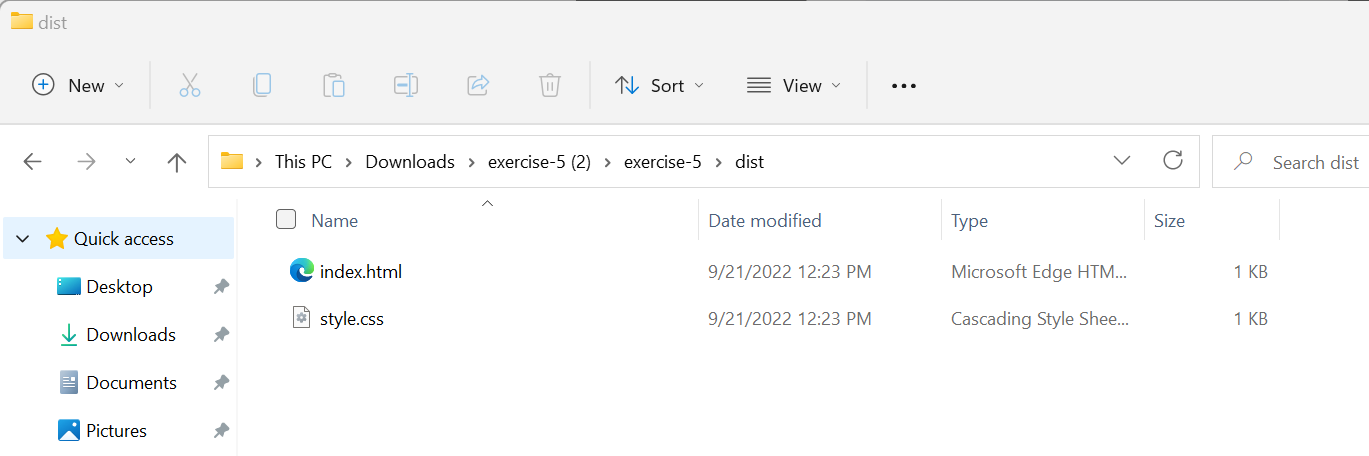
From your Github repo, choose “Add file” and then “Upload files”. Upload your index.html and style.css files and then click “Commit changes”.
Now, when you go to your profile page, your new Repository will now show up under Repositories.
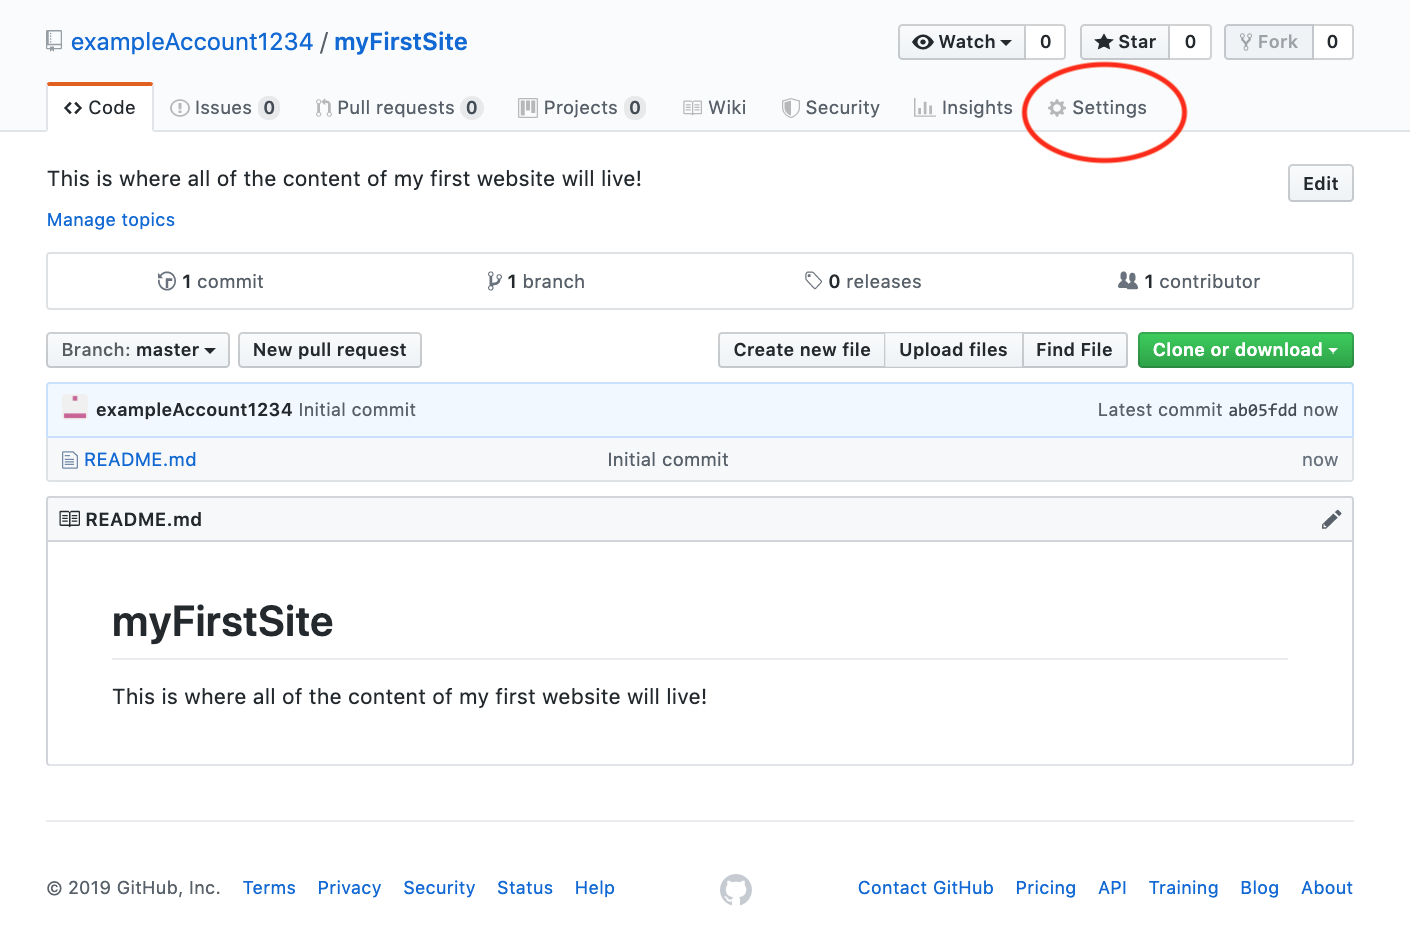
After you’ve uploaded everything you created for your site, navigate back to the repo and select Settings.
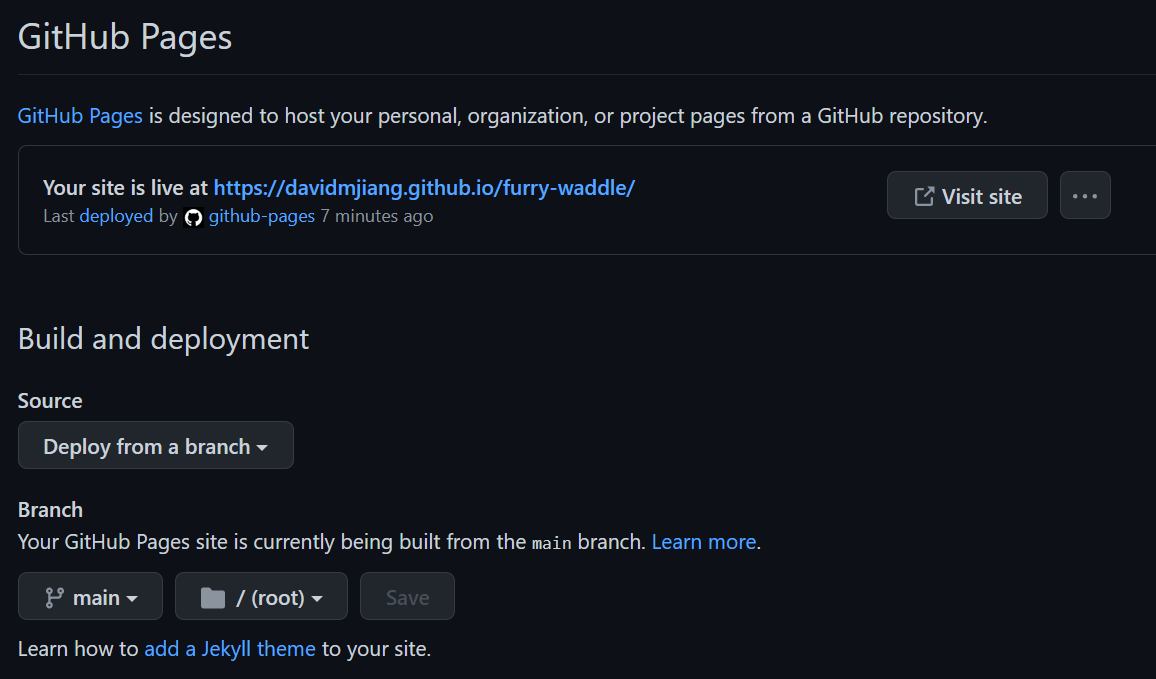
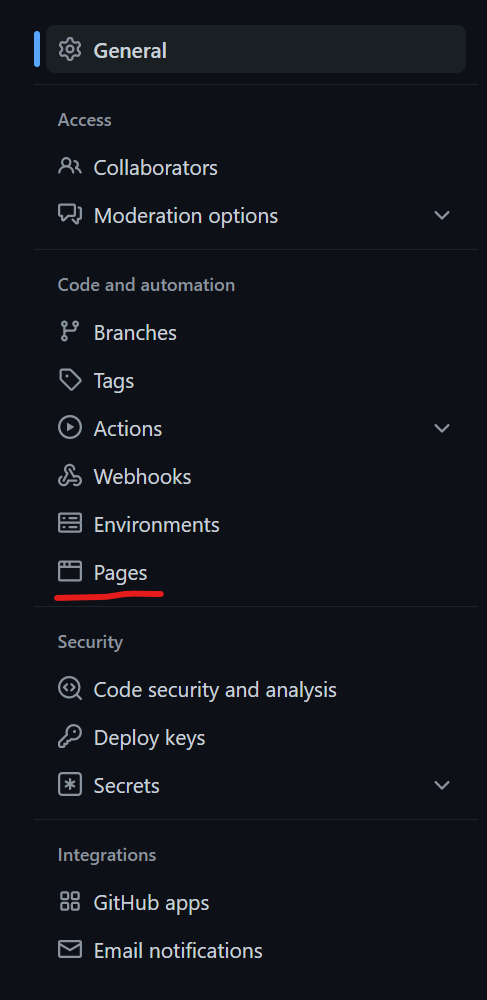
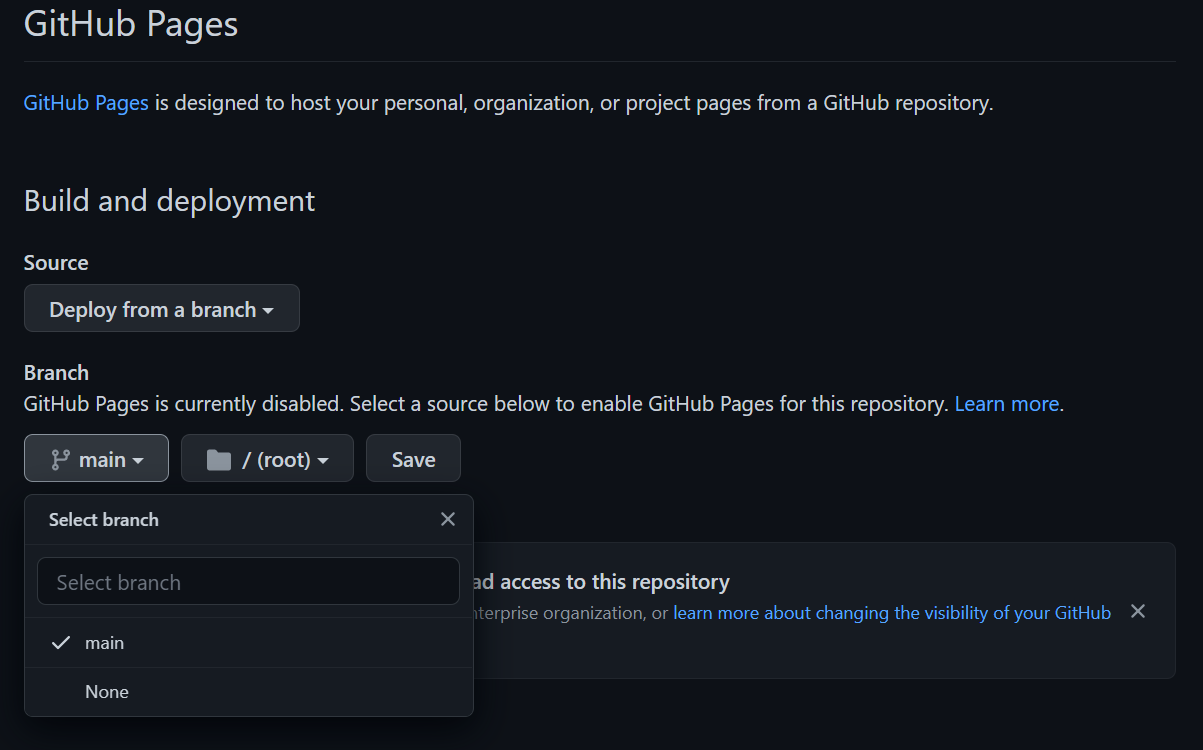
Click on the “Pages” section on the left-hand navigation bar.
Change the Branch from ‘None’ to ‘main’. Save these changes.
Wait for about a minute as your files are published. There should be a link at the top of the GitHub Pages section. Now anyone can access your site with this link!