Triggers
Now, let’s stop and think about how we want our projectile to work. A projectile is going to be fired, and then when it hits an enemy it will disappear. …That’s not really physics, is it? Physics can’t make an object disappear into thin air, so this disappearing will have to be a custom behavior that we add to the projectile using a script. The disappearing behavior will happen when the projectile touches an enemy.
We do that by making this projectile a trigger. Go into the BoxCollider2D component within the projectile inspector you added, and check the “IsTrigger” box. A trigger will let you know that it touched something, so in your script you can check to see if that interaction happened, then make that custom disappearing behavior occur.
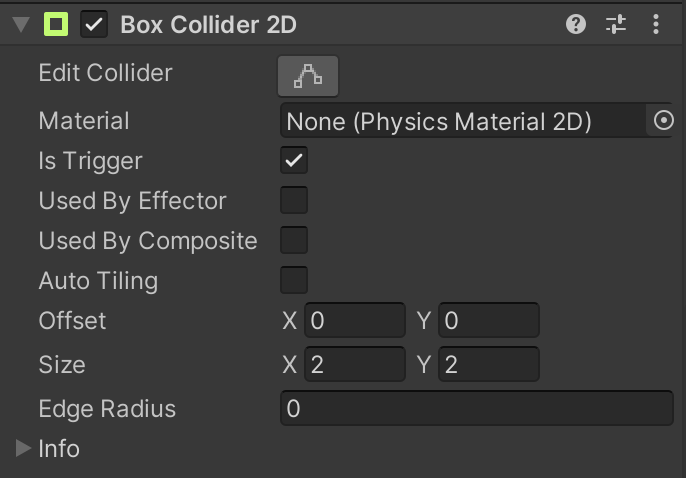
Note that because this projectile is a trigger, it’s not going to work by physics anymore. Unless you add a script to make it disappear, it’s going to pass through objects, including the invisible walls you added earlier.
Turning a Collider into a Trigger turns off physics reactions, but that object can still let you know when a collision happens.
Tags
Before we get into creating the next script, we must talk about one more thing — tags. Tags are used to easily identify GameObjects within Unity. We will be using them when creating the next two scripts! First, we must set up tags within our game.
Right at the top of the Nuvi inspector window, locate the “Tag” dropdown. At this moment, it should say “Untagged”. Pull down the drop down menu and select “Player”. Now, Nuvi has a “Player” tag that we can easily locate. Let’s repeat this for both the projectile and enemy. If you want to make a new tag, select “Add Tag…” in the dropdown menu and select the “+” sign. Then name your new tags as “Projectile” and “Enemy” and save.