We need to help Nuvi defeat the aliens, but programming everything from scratch might be a bit too much right now. Unity is a tool that has some basic parts of game-building simplified for us, so all we need to do is drag and drop objects, and write a bit of simple C# code!
Why use Unity when there are other tools out there?
Well, Unity has some great aspects, especially if you’re just starting your game development journey. It’s cross-platform which means you can develop a game for, say, both computers and cell phones. It is beginner-friendly for coders. Best of all, it has a large, supportive community!
Some games developed in Unity include: Subway Surfers, Hearthstone, Cytus, Pokemon Go, Overcooked, Cuphead, Hollow Knight, Among Us, and Genshin Impact. Just from this list, you can notice that there are both indie titles and AAA titles, and there are games for a variety of platforms. Whether you want to develop in a big company or develop on your own, it’s a good idea to have some experience with Unity!
So, before we can do anything, you need to download and install Unity! Even if you already have Unity installed, look through this activity to make sure you have the right set up.
Step 1: Download Unity
First, let’s choose and download Unity .
Click on “Choose your Unity + download”.
Click on “Student and hobbyist” and under “Personal” or “Student” if you have a student email address, select “Get Started”.
Scroll down on the webpage under “1. Download the Unity Hub”, download based on your computer.
For this workshop, we used the version “2019.4.19f1” for the content and screenshots. If you want to use this exact version, on the same page under “2. Choose your Unity version”, select “Visit the download archive” to find the same version as this workshop. If not, there may be minor changes in the user interface for more recent versions. If you choose to go down the path of game developing in Unity, then don’t forget to check out the latest versions!
After Unity finishes downloading, open up Unity, which will then begin the Unity Hub setup, an application that will help you manage your Unity projects.
A pop up window will appear. Agree to the user agreements, activite the license, select the destination folder to where you want to download in your computer, install, and then run Unity Hub by selecting “Finish”!
Step 2: Unity Hub
Log in with your Unity ID: The Unity Hub installer will then appear. Once you hit install, you will then be taken to a page where you have to create a Unity ID. If you don’t have one yet, create a new ID. If you already have one, select, “I already have a Unity ID” and input your information.
After inputting your information, the page will then ask you to choose a template for a microgame. This only occurs because we chose “First-Time Users”, so Unity wants new users to play around with the given projects to help them understand Unity better.
We will be using our own projects to teach, so for now, you can choose a random template you might want to explore later and hit “continue” and “Launch Unity”. Unity will then launch the microgame, but since we are not using it, simply close Unity.
If your version of Unity is not 2019.4, then open up the Unity hub and to the left of the window, select “Installs”. Click the “ADD” button and select the version you want. You can select the latest version or the version we are using for this project, “2019.4.19f1 (LTS)”. Then, the Unity Hub will take you to a page where you can choose the libraries you can include. Make sure that the Windows and Mac Build Support are selected!
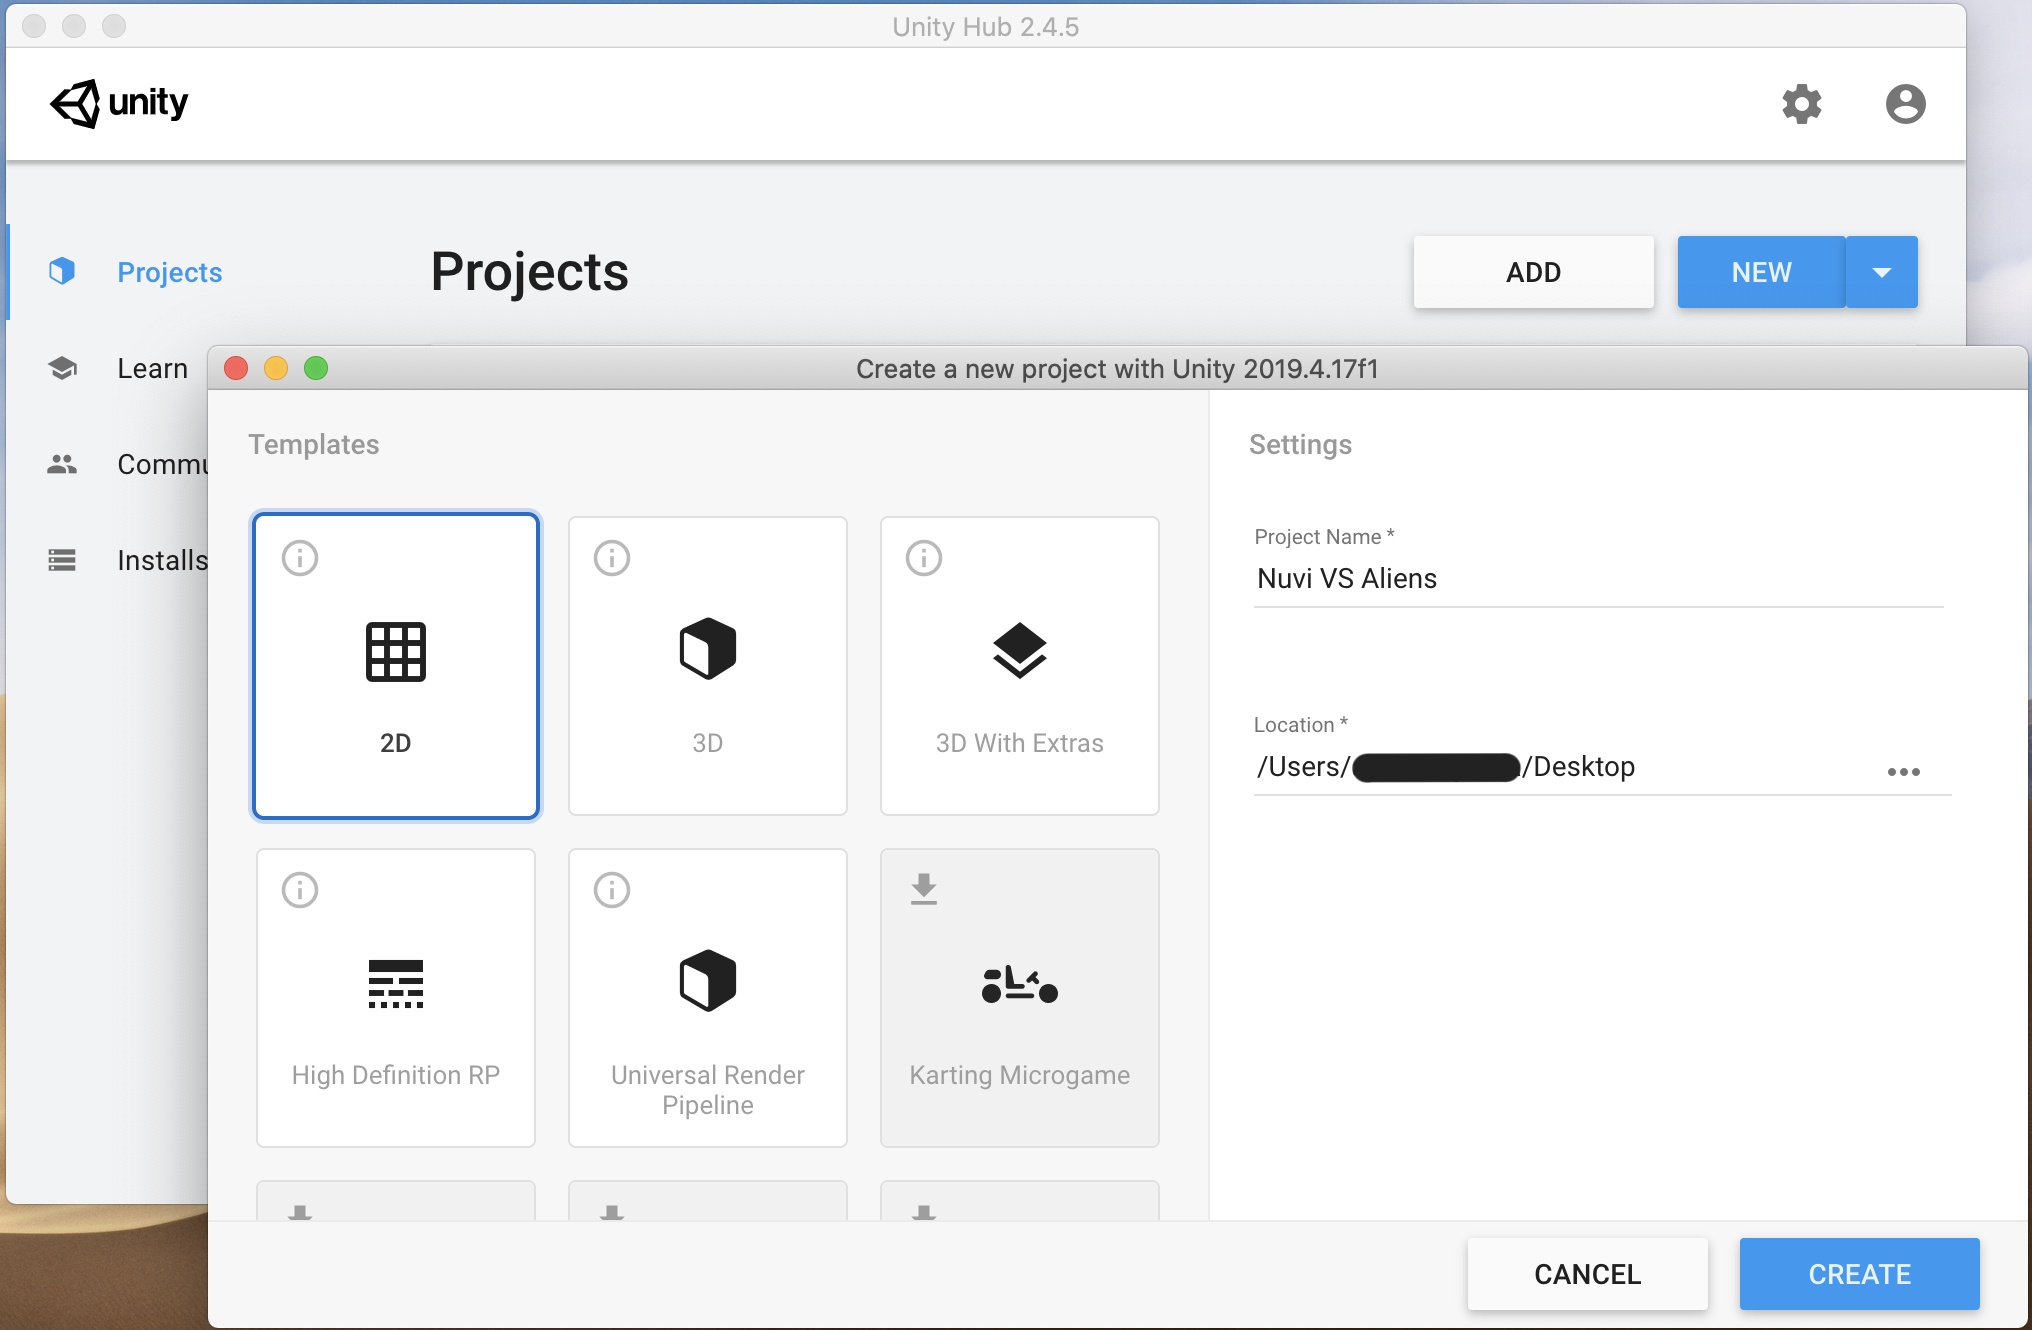
Step 3: Let’s Begin!
To start working on a new project, open Unity Hub and click on the blue button that says “NEW”. Name your project however you like, and choose a place to create your project folder. Make sure you have “2D” chosen as your project template, as shown in the screenshot.