In order to export your game, locate “File” at the top, left corner of the Unity window and select “Build Settings”. You will be greeted by this pop-up window:
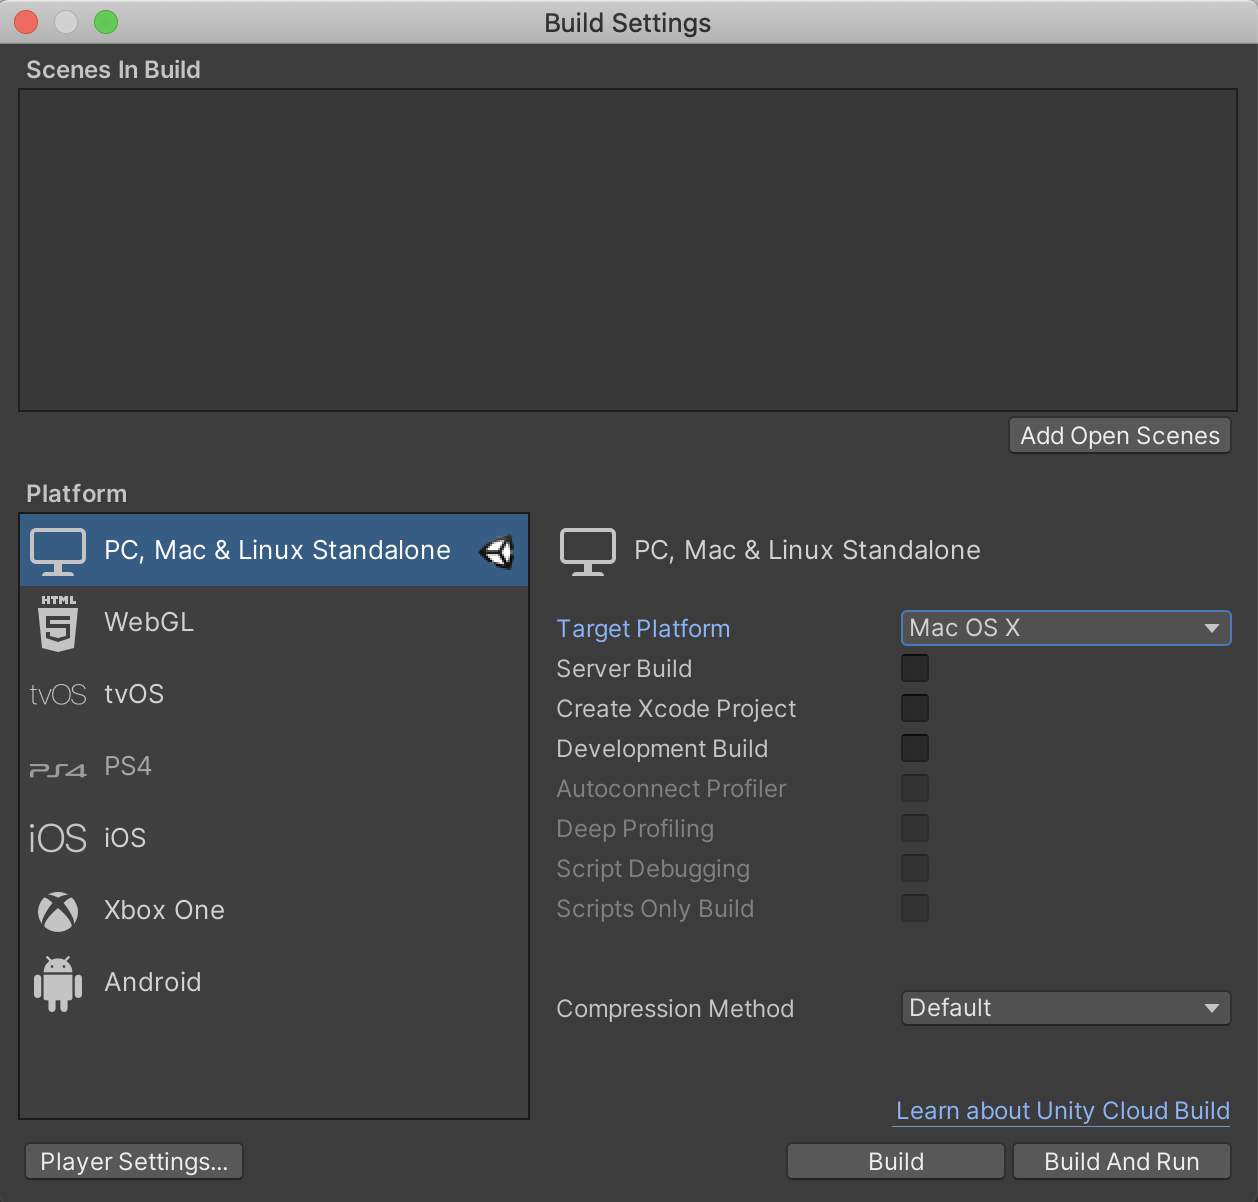
The two most common builds are either the Mac build or PC build. To choose between the two, select the drop-down menu next to “Target Platform” and choose your platform choice. Finally, simply select “Build” at the bottom right. You will then be asked to choose where you want to save your game. You can create a new folder and save your game in there! Select your folder and the build process will begin. Once the build process is complete, head to where your newly created folder is located and open it.
If you are building on Windows, you can run your game by entering the folder where you built the game and selecting the application that has the icon below, with the name of your game next to it!

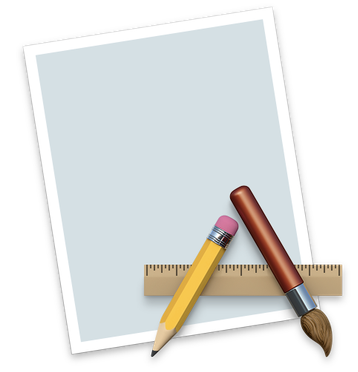
If you are building on a Mac, running your game is the exact same process. But instead of the Unity mark, you might find an icon like below. Don’t worry, it’s still your game.
Congratulations! WOO HOO! Pat yourself on the back, you completed your first game! You learned about Rigidbodies, Colliders, prefabs, Triggers, tags, scripts, Unity’s UI system, and how to navigate Unity’s UI itself! Feel free to share your game with others!
If you liked this tutorial and want to learn more about Unity to one day make your own game, there are tons of other tutorials out there on the internet that you can view for free! You can also play around with Unity and figure out how things work on your own.
Game development can seem like a daunting journey, but the products you create along the way will be all the more worthwhile. We wish you the best of luck on your journey, and remember: Never forget to have fun!

You did it!
Workshop complete