
Nuvi wants quick, private translations—so you’ll host the translation “brain” right on your machine.
 Nuvi says: Keeping it local means no internet delay and better privacy for practice projects.
1. Add it to requirements.txt
Open your project’s requirements.txt and add (or confirm these lines are present):
libretranslate
requests
Save the file.
Install using the VS Code terminal
To open the terminal you can:
- Use the menu: View → Terminal
- OR press the keyboard shortcut:
Ctrl+`` (backtick key, usually above Tab). On macOS it’sCmd+``. - OR click the Terminal tab / plus (+) icon at the top of the panel area.
- Make sure your virtual environment is selected (look for
.venvin the bottom status bar). If not, select it. - Open a new terminal in VS Code (
Ctrlxd+`). - Run:
pip install -r requirements.txt
- Wait for the install to finish without errors.
- (Optional) List installed packages to verify:
pip show libretranslate
2. Run LibreTranslate Locally
Start the server in the terminal (keep this window open while you test):
libretranslate --load-only en,es
This will start the server with support for translating English and Spanish—the two languages Nuvi wants to support first.
Nuvi tip: Need more languages later? Restart without `--load-only` or add codes (e.g. `--load-only en,es,fr`).The first time running it may download language data. That can take a few minutes.
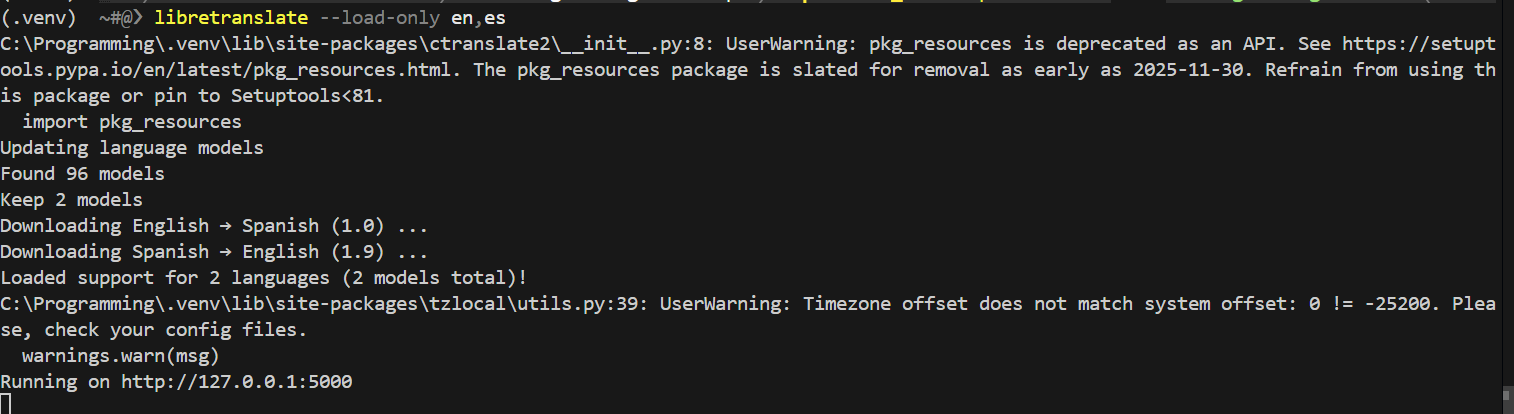
Once it’s finished, open a browser to:
http://127.0.0.1:5000
You should see a simple page. To see languages the server supports, visit:
http://127.0.0.1:5000/languages
xdxd
3. Troubleshooting
| Problem | Fix |
|---|---|
No module named libretranslate | Ensure your terminal shows the (.venv) text or ask an adult for help. |
| Server starts then quits | Read the error text; reinstall or try again. |
| Can’t open 127.0.0.1:5000 | Make sure the server is still running; check firewall. |
| First translation slow | Models still loading. Wait a bit. |
| Output is empty / weird | Make sure you used POST with keys: q, source, target, format. |
| Port already in use | Use a different one: python -m libretranslate --port 5001 and update the URL. |