This activity will have two parts: loading in the game’s background and loading in the ship that the player will eventually control (it will just be an image that doesn’t move for now). For both of these activities, the method will be very similar: we will first upload the image into the game on Scene 1 and then make it visible with Scene 2. You can think of Scene 1 as being used to upload the picture into the game and Scene 2 being used to create things that we’ve uploaded.
Part 1: The Background
Let’s start with the background. Again, to add images to the game, we will first upload them in Scene 1 and then put it in our game in Scene 2. First go to Step 1 in the preload() function in Scene1.js:
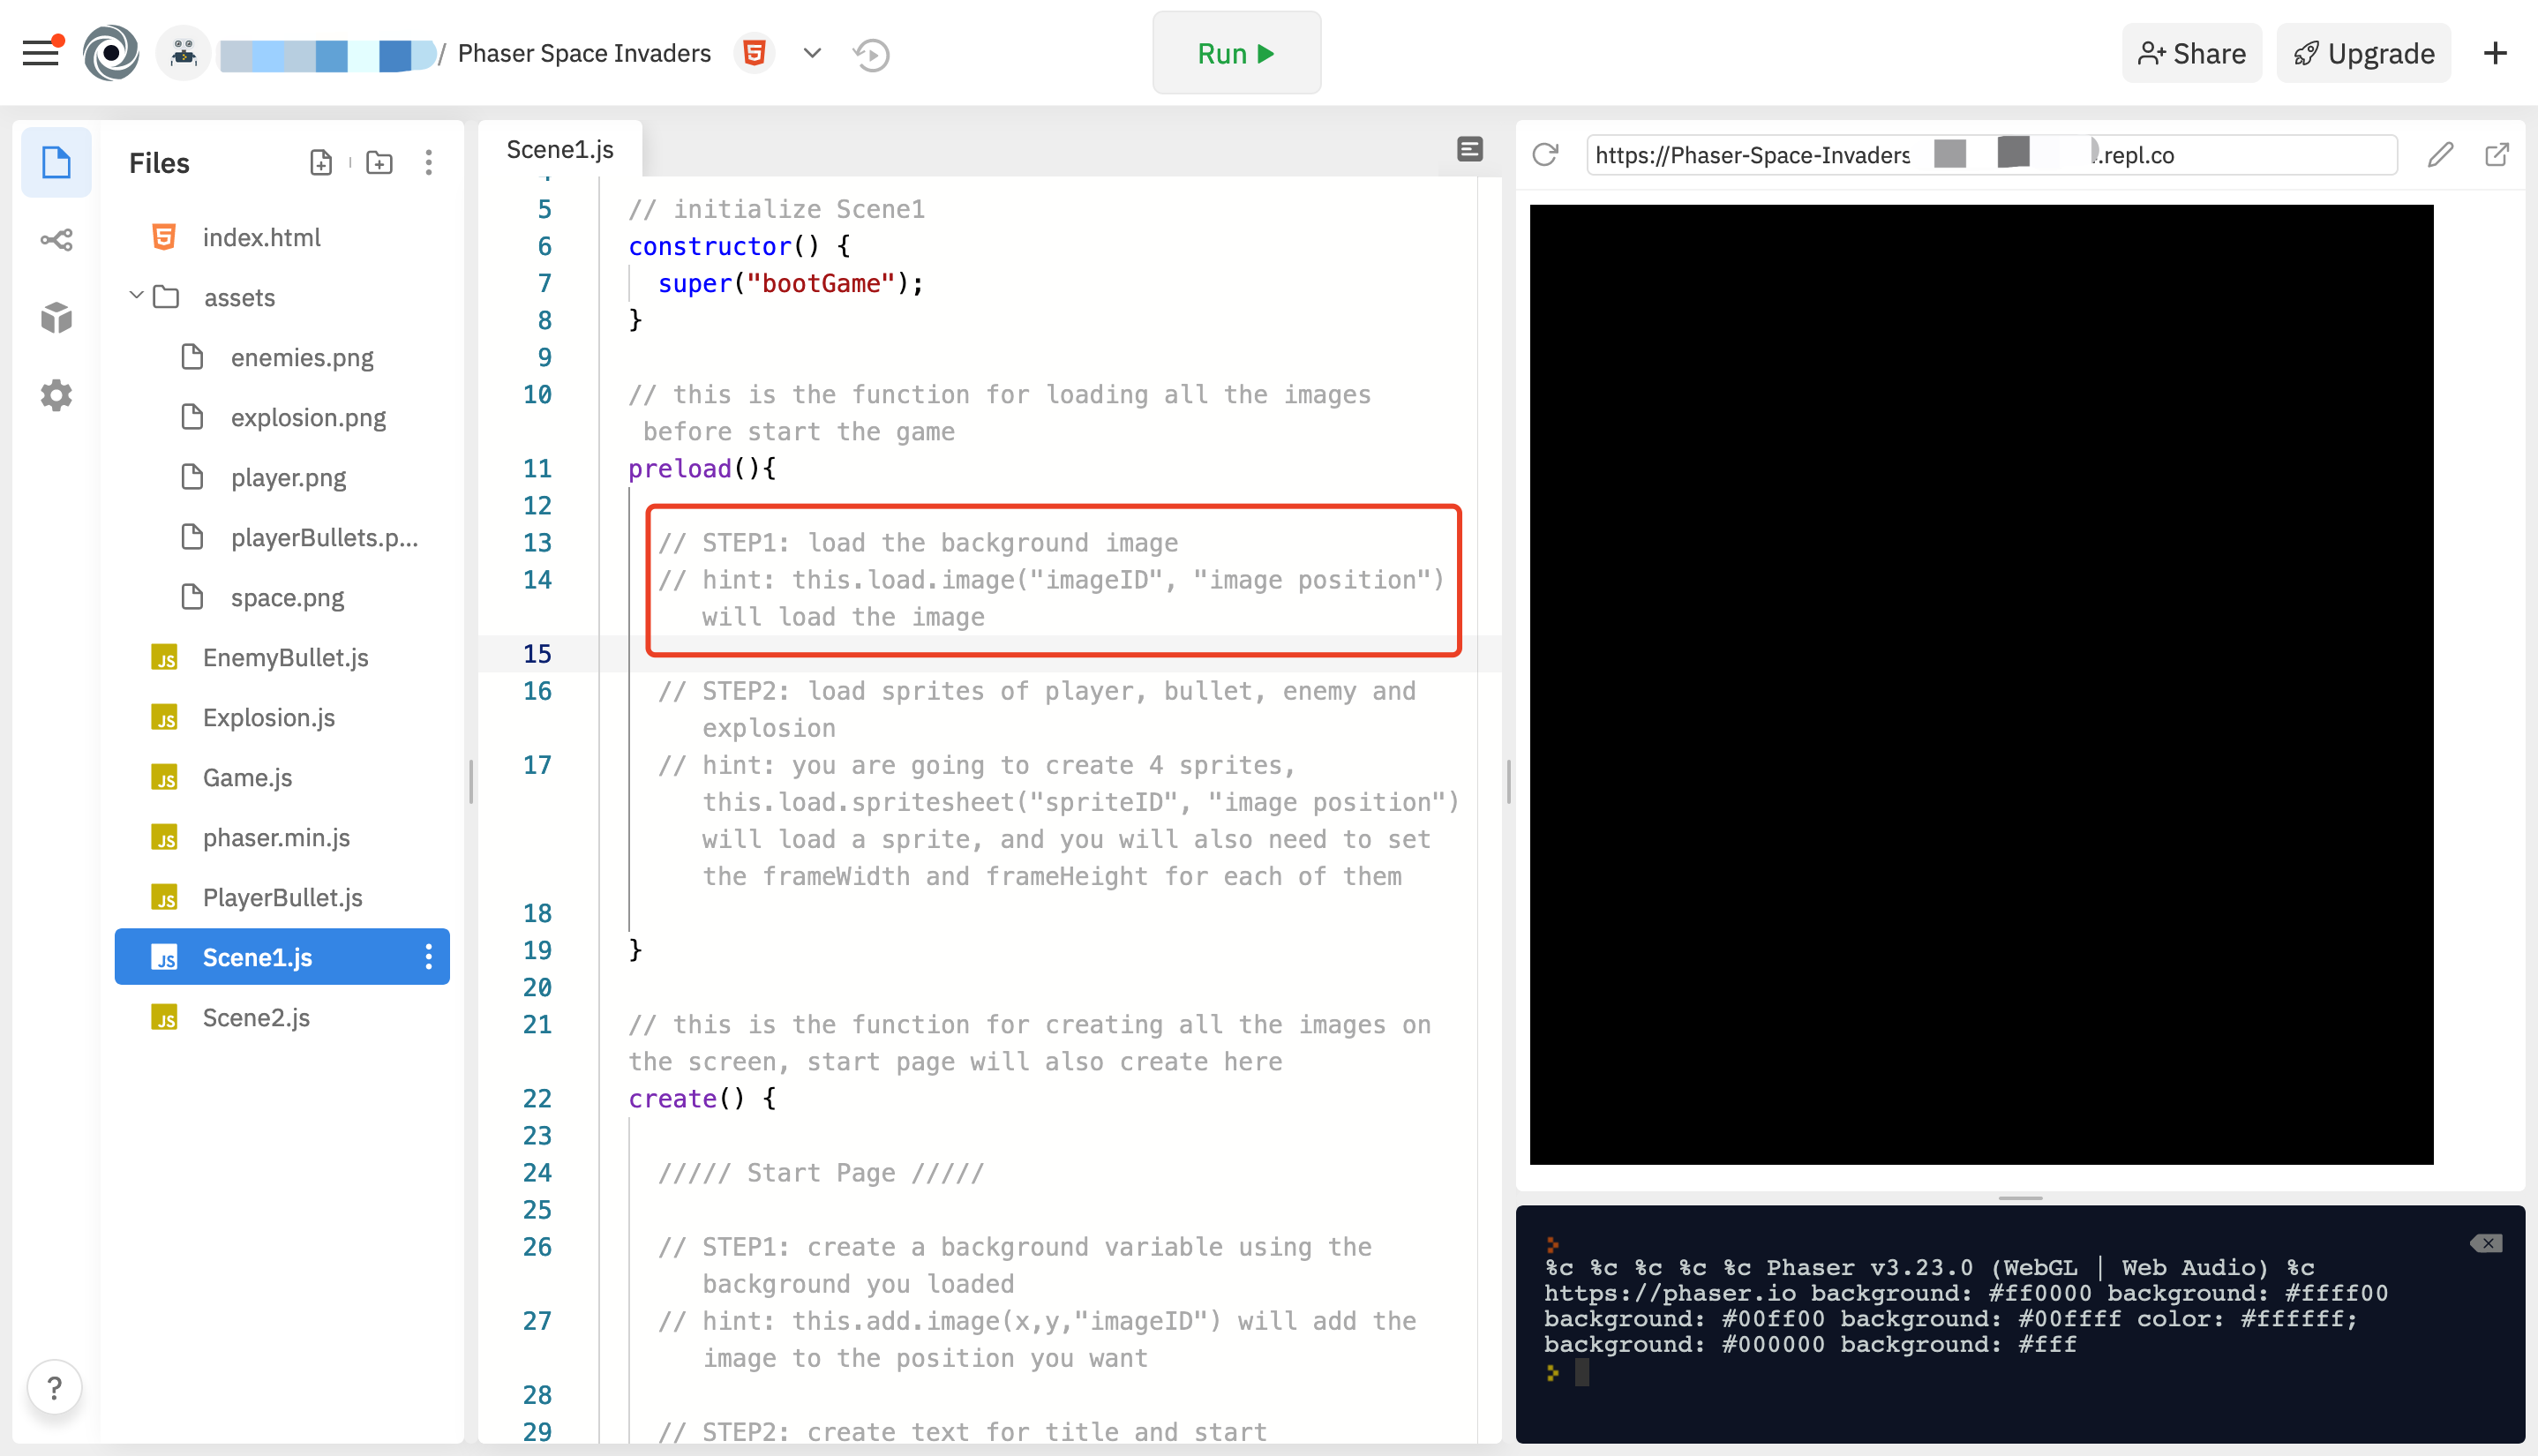
Now, load the background image into preload().
For review,
Nothing will happen after you complete this line because you are simply loading the image for future use, not placing it anywhere.
imageIDis the name you give to the image.imagePositionis the position of the image. (a image called example.png in assets folder, imagePosition will be assets/example.png)
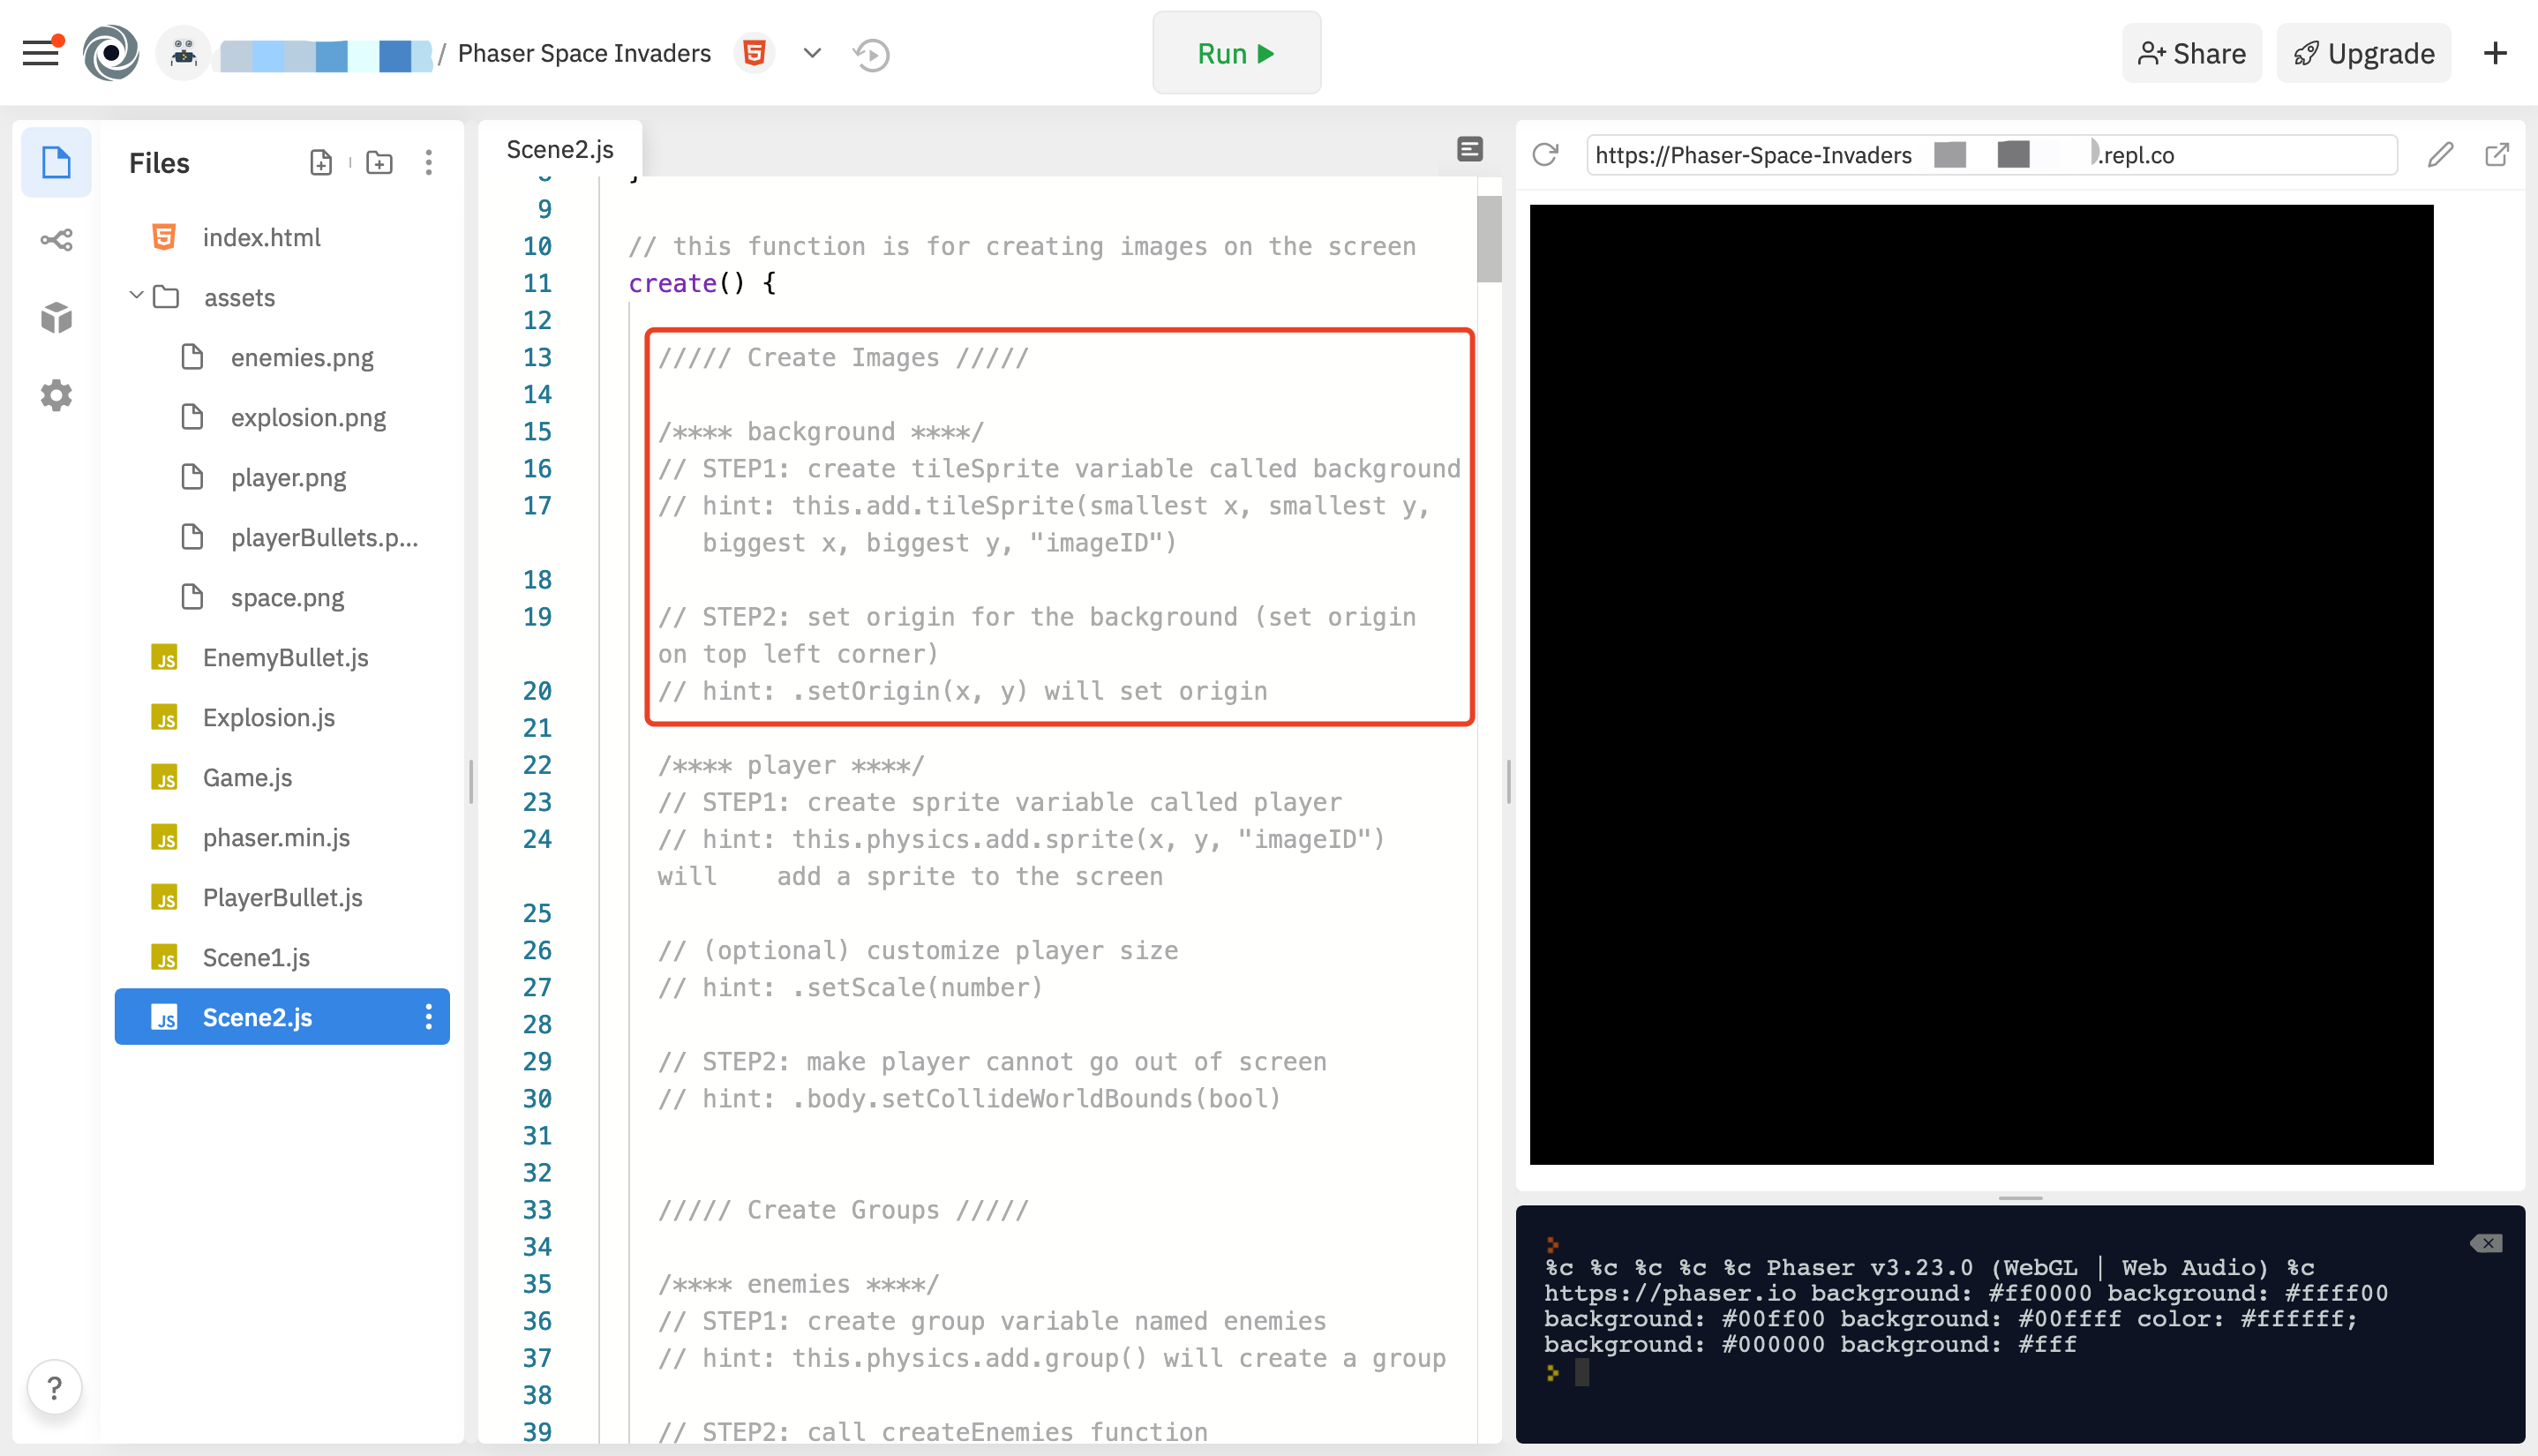
Next, go to Step 1 and Step 2 in the create() function in Scene2.js. Each step will require one line of code, creating 2 lines in total:
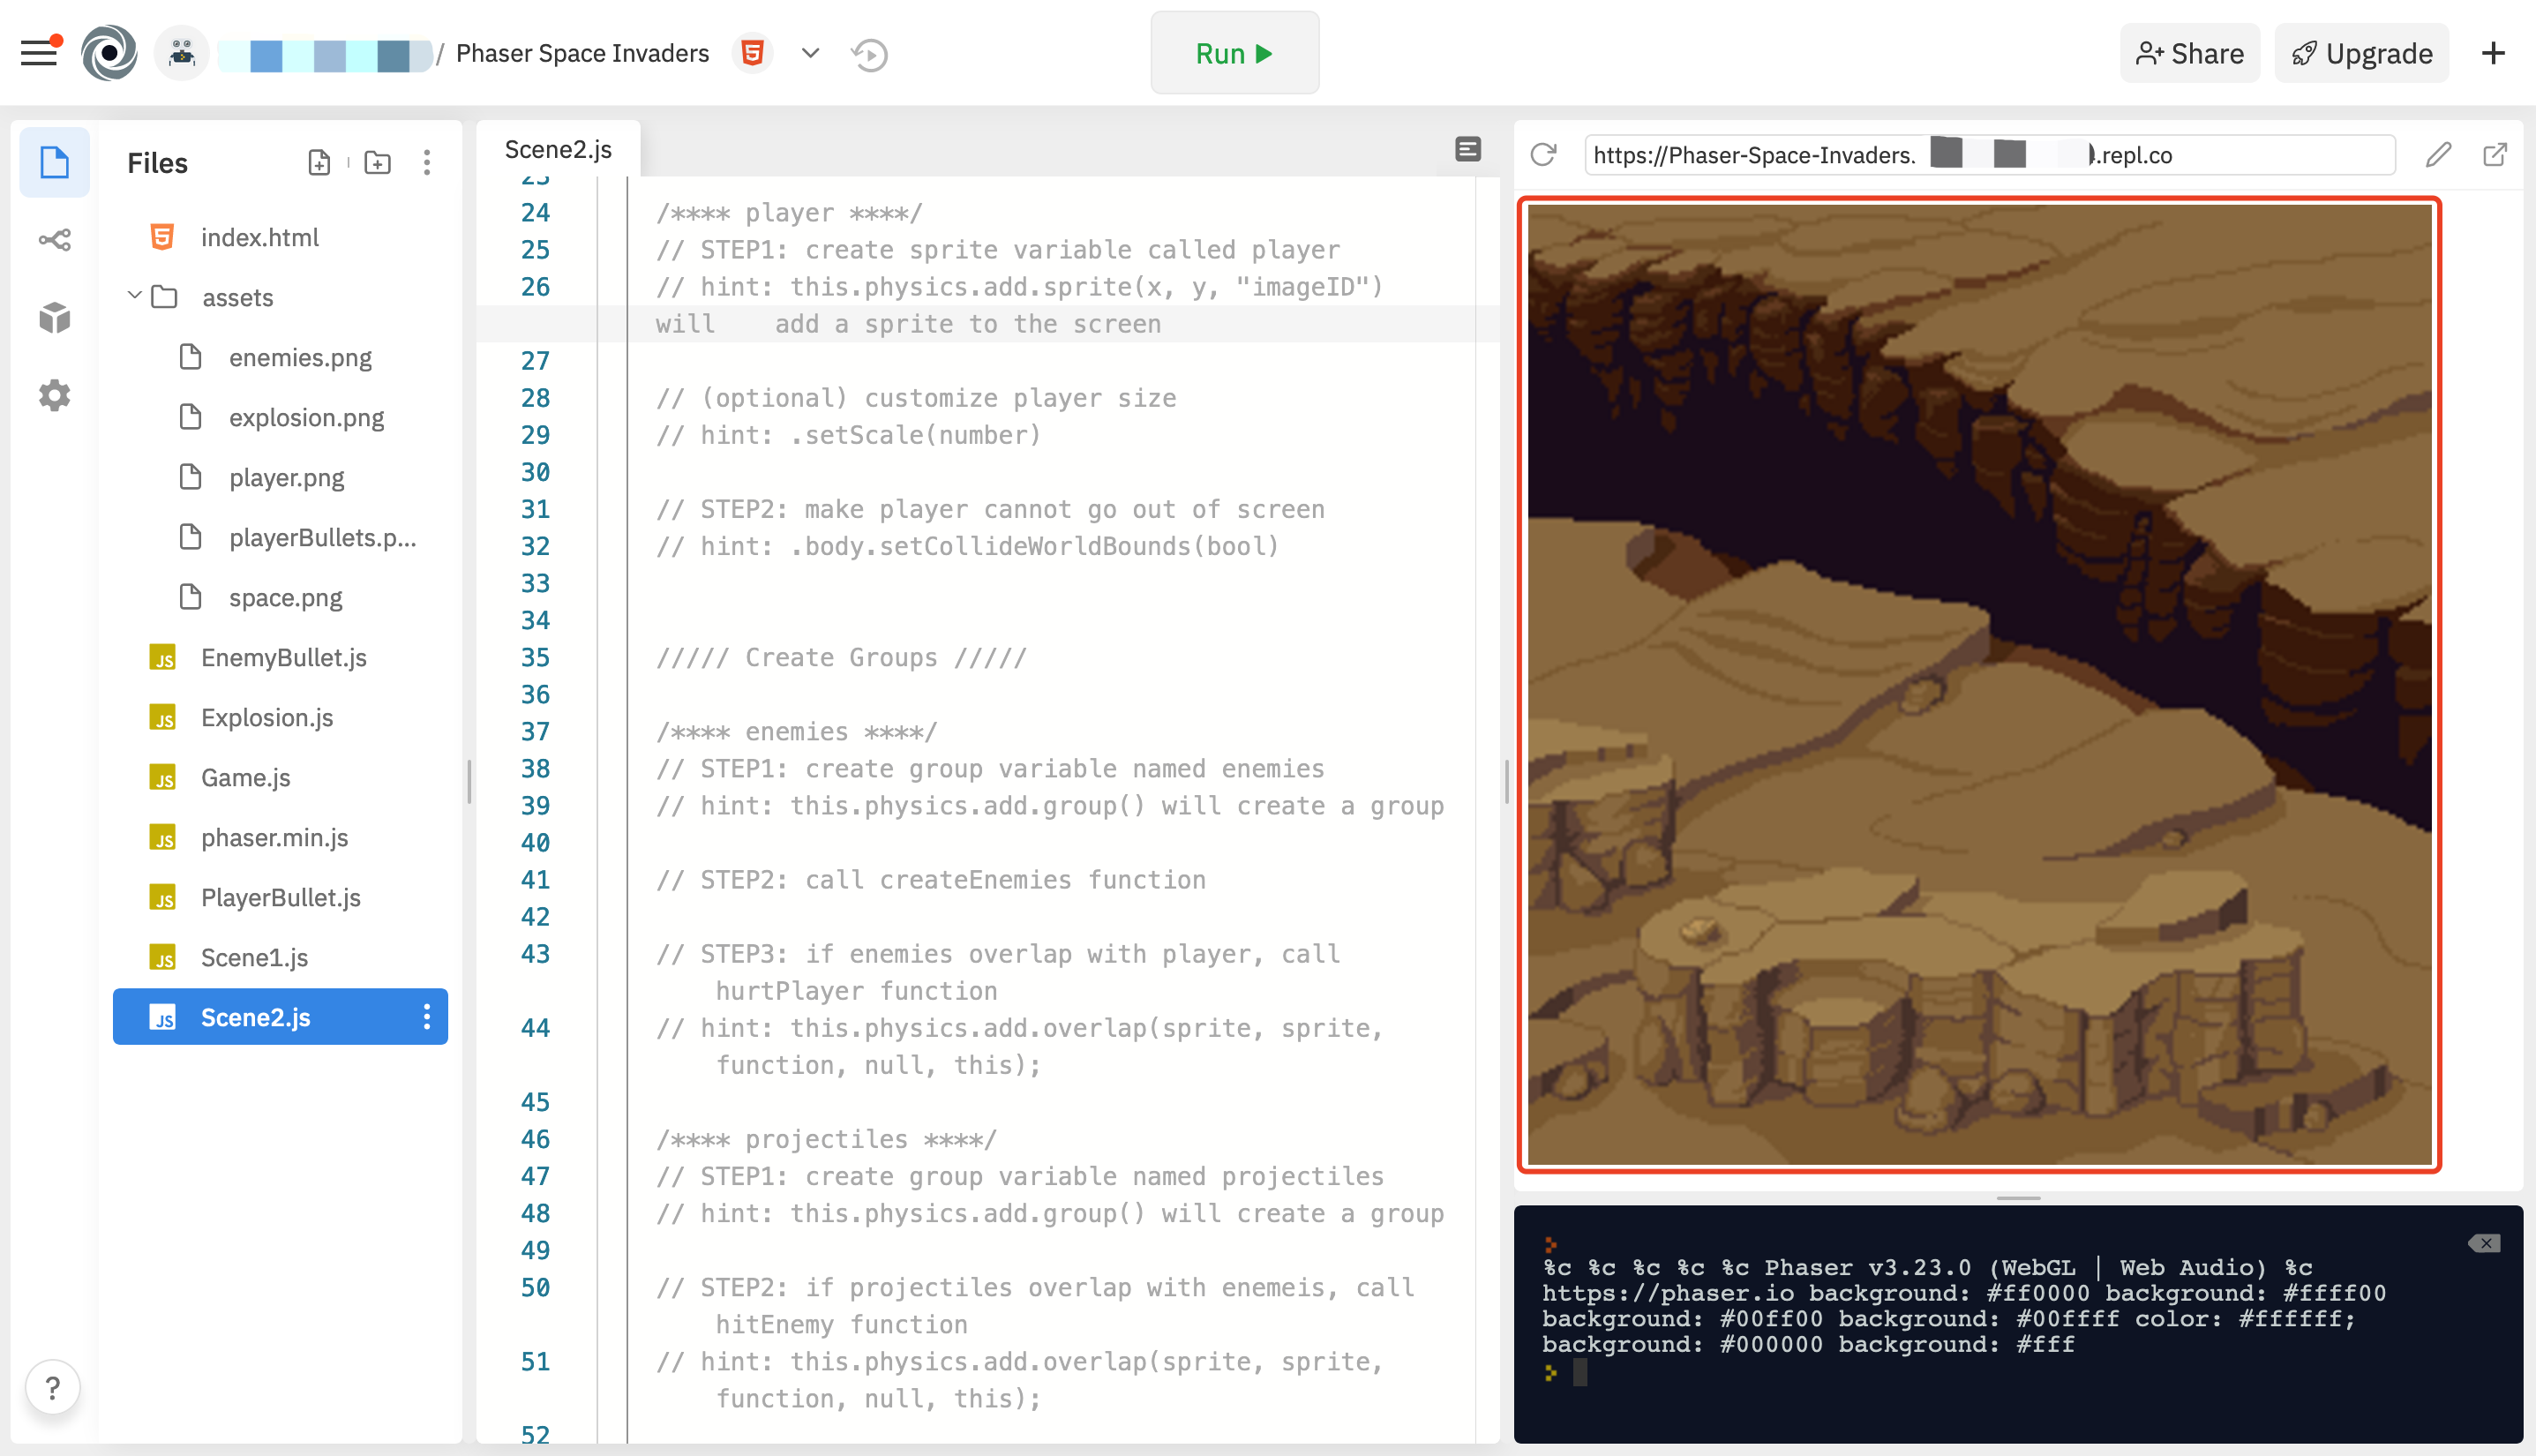
Try loading the page and see if the background is working! Your console on the right should look like this:
Part 2: The Player Ship
We will do nearly the same thing with the player but with different syntax because the player’s ship is a spritesheet instead of a normal image (you will see why in the next activity).
For this part you will be doing Step 2 in the preload() function in Scene1.js:
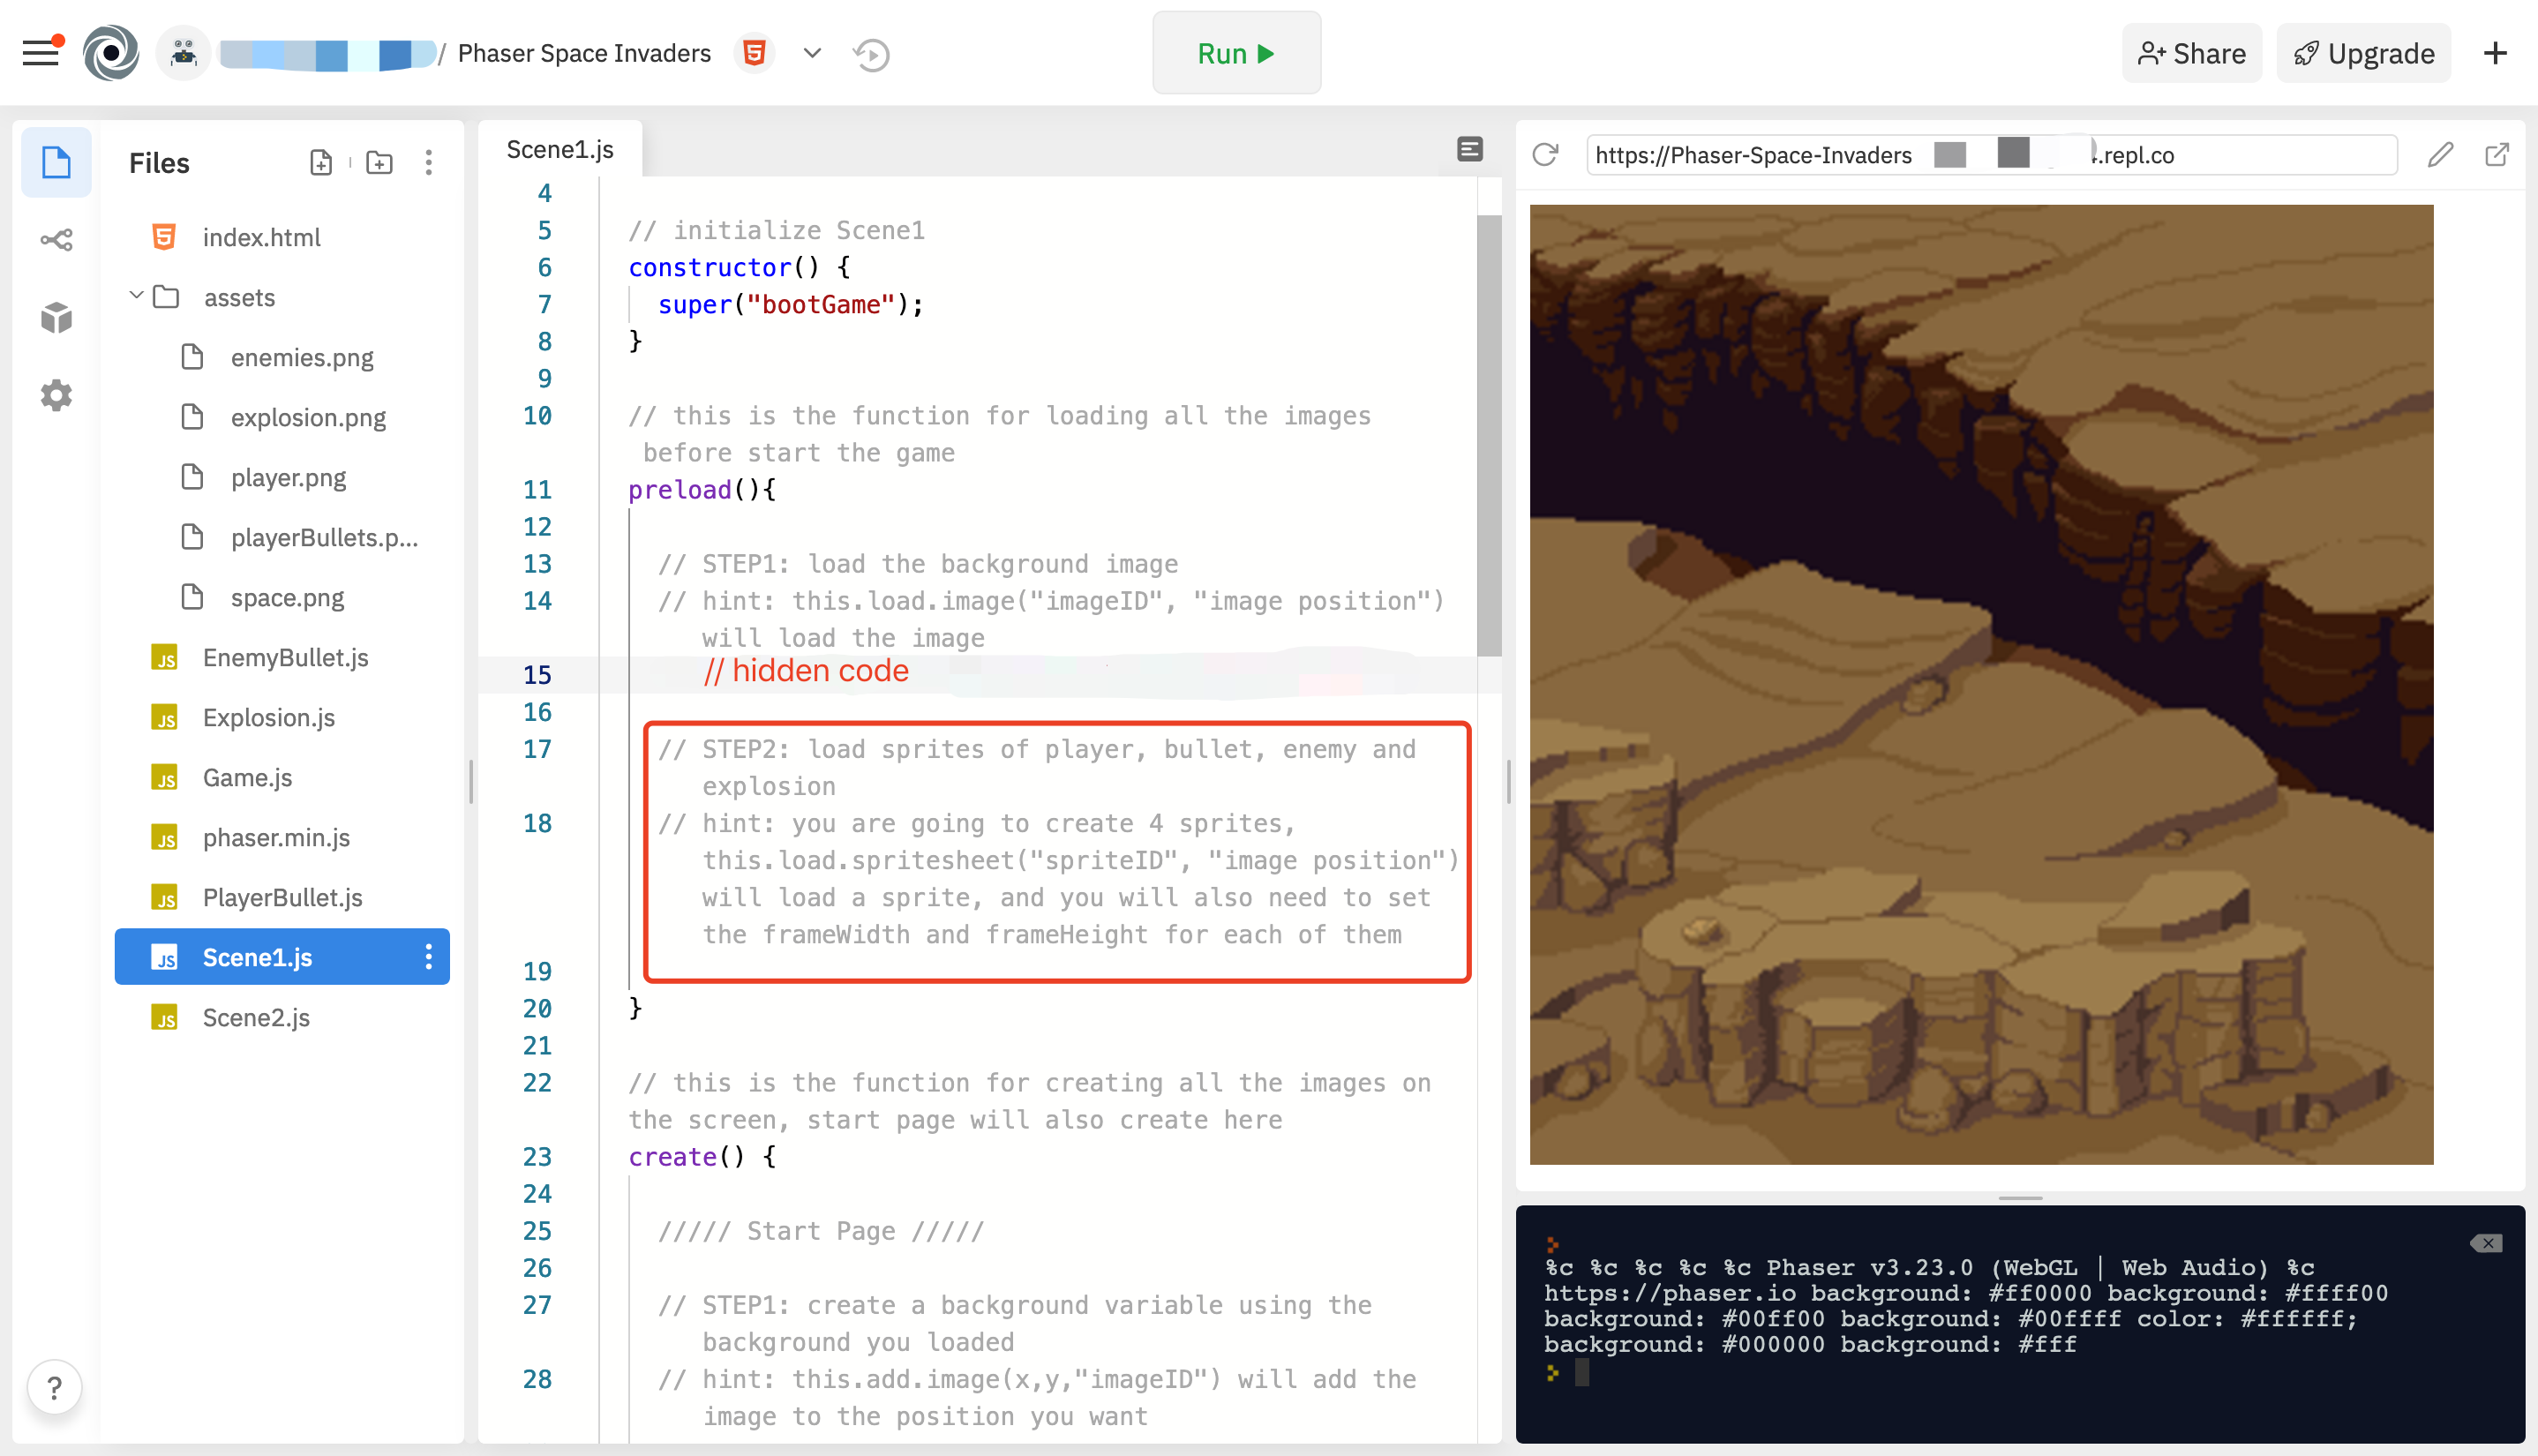
SpriteIDandSpritePositionworks the same with imageID and imagePosition.FrameWidthwill be 32 andFrameHeightwill be 48.
and the player section in Scene2.js:
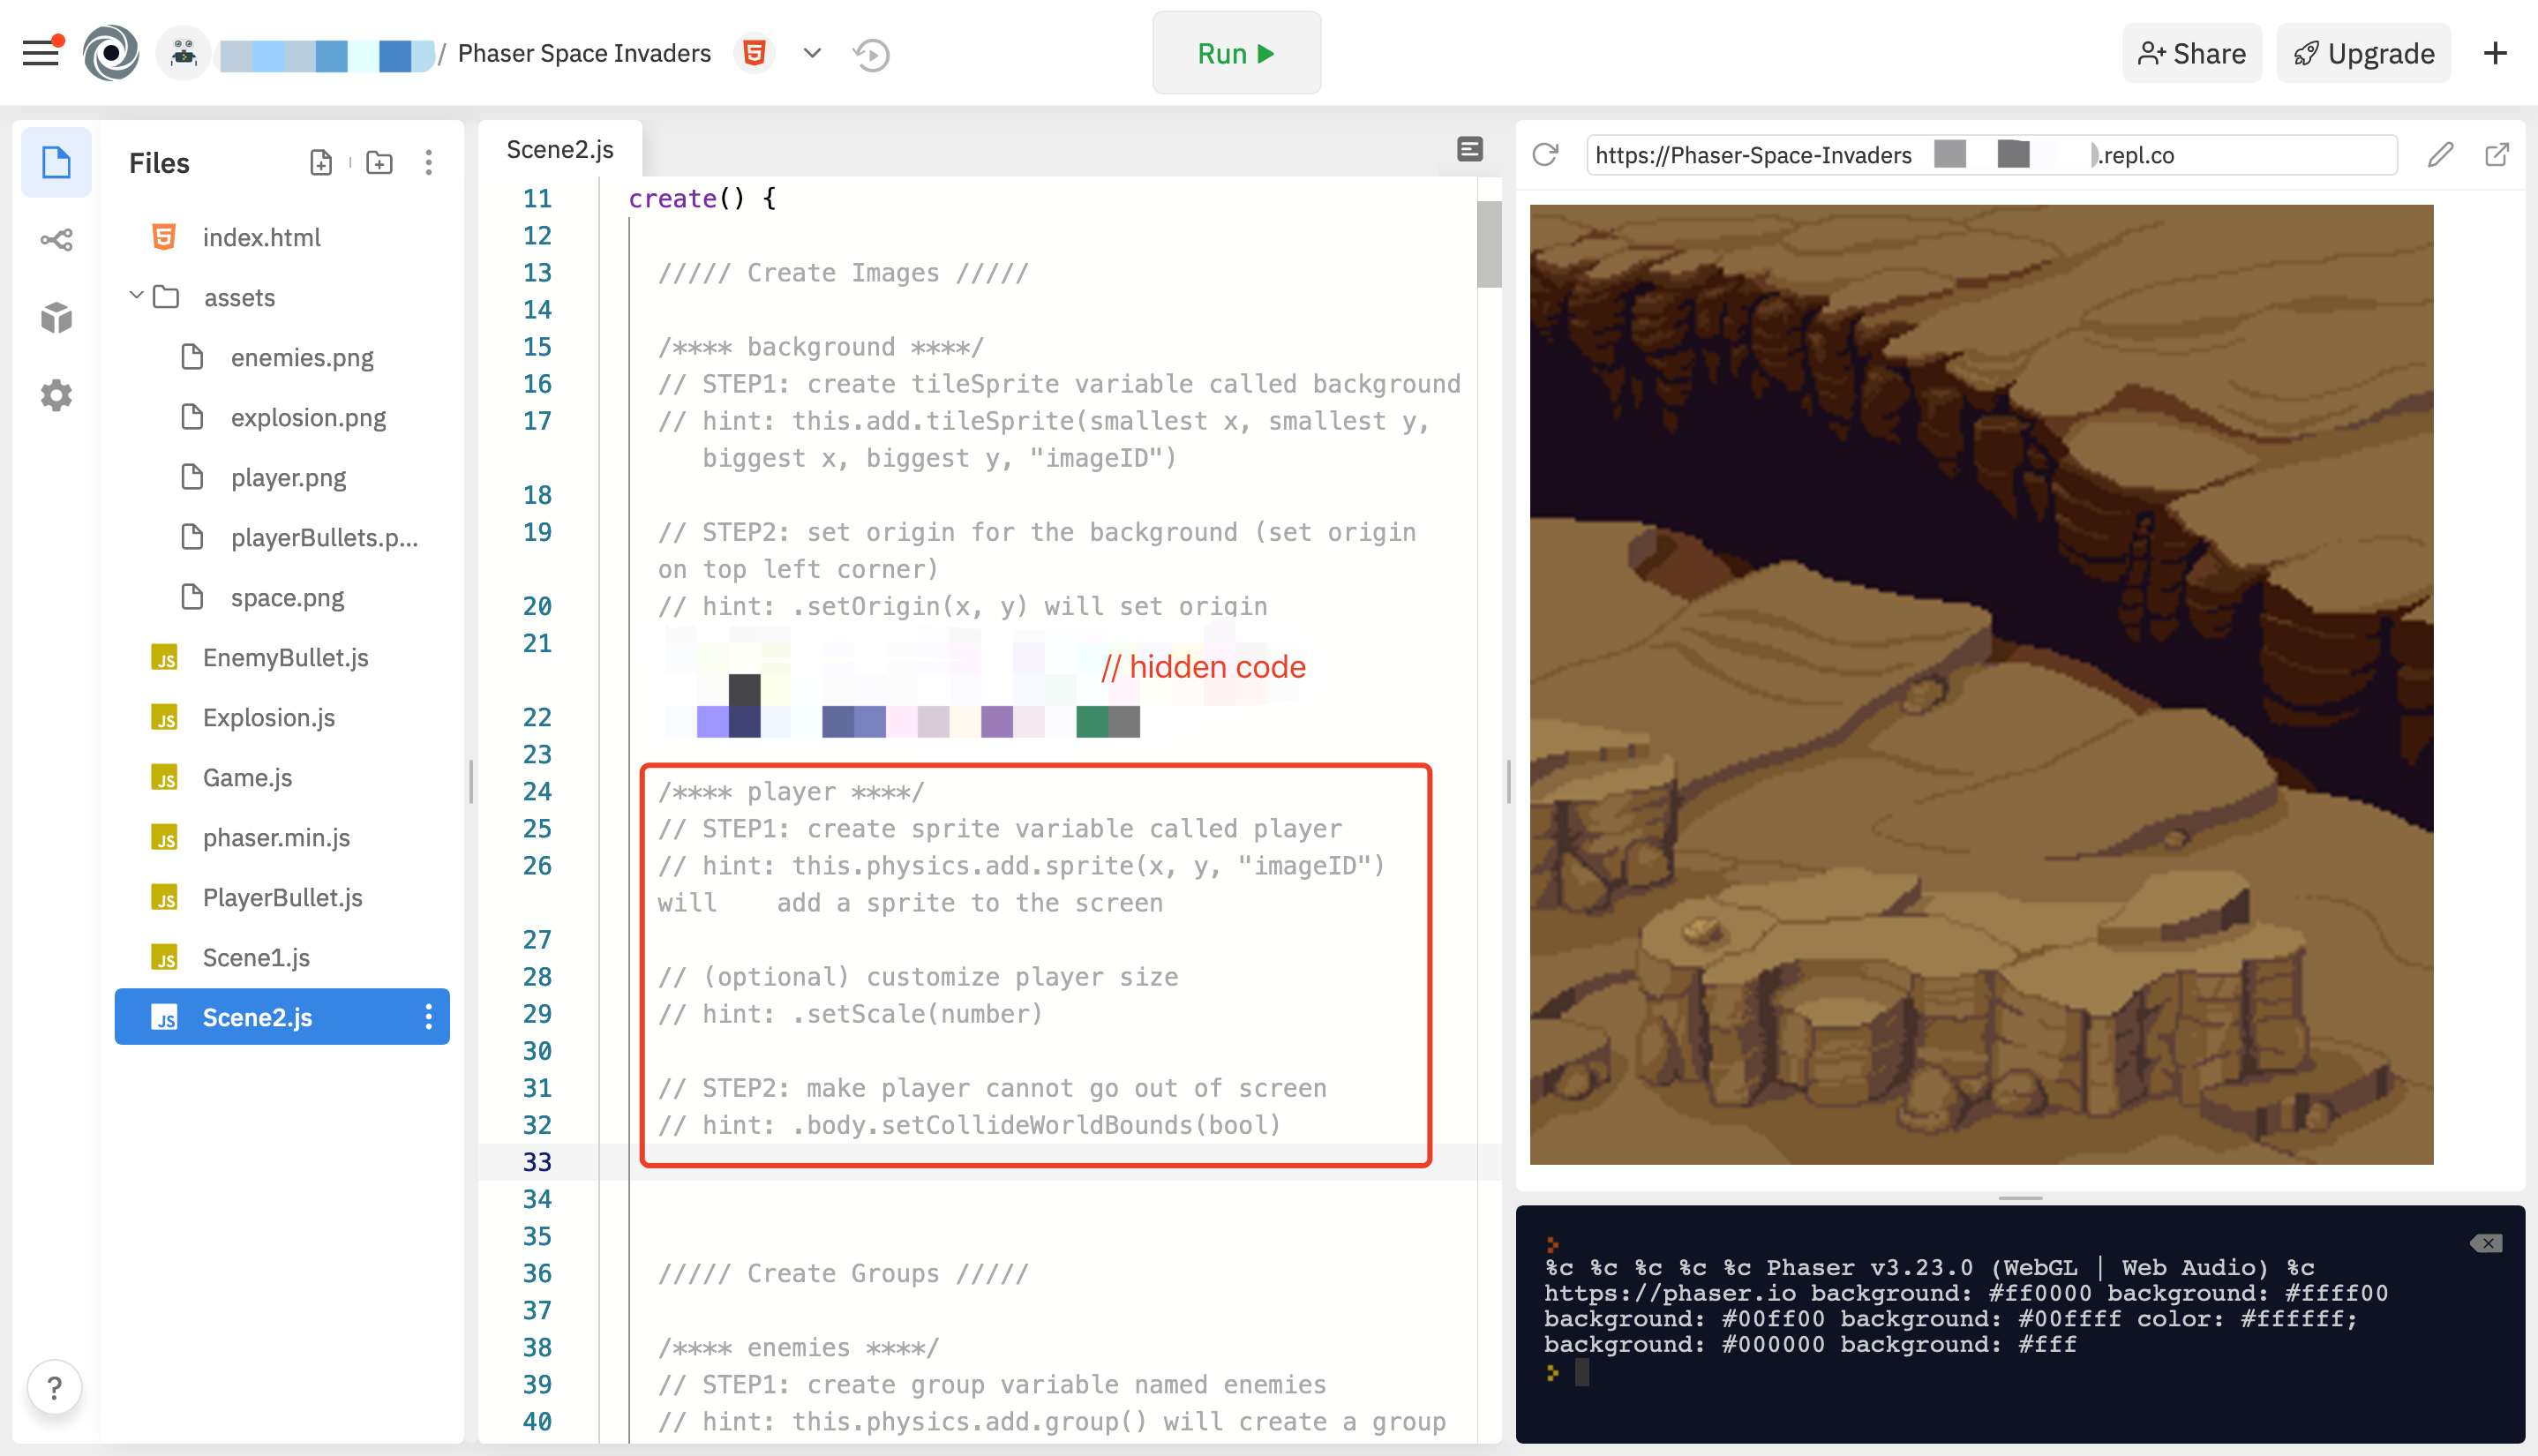
If the player section filled in correctly, but player does not shown up on the screen. Try to change x and y, the player may be out of screen!
After adding the player’s ship, your console should look like this:
