Prerequisites
| Tool | Purpose | Install link |
|---|---|---|
| Git | Version control | git-scm.com/downloads |
| Hugo (Extended) | Builds the workshop site | gohugo.io/installation |
| VS Code (recommended) | Text editor | code.visualstudio.com |
New to Git? Check out the GitHub Quickstart guide .
Quick install for Hugo
Windows (winget):
winget install Hugo.Hugo.Extended
macOS (Homebrew):
brew install hugo
Linux (snap):
snap install hugo
Verify with hugo version. You should see output that includes extended.
Reference links
Walkthrough videos
Fork and clone the repo
Contributions use the fork model . You push changes to your own fork, then open a pull request to merge them into the main repo.
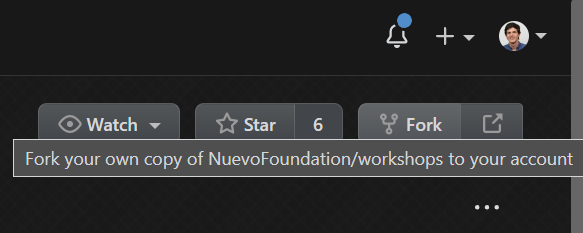
1. Fork the repo
Click Fork in the top right corner of the workshops repo:
2. Clone your fork
Replace [your-username] with your GitHub username:
git clone https://github.com/[your-username]/workshops.git
cd workshops
3. Set up the upstream remote
This lets you pull in updates from the main repo while preventing accidental pushes:
git remote add upstream https://github.com/NuevoFoundation/workshops.git
git remote set-url --push upstream no_push
Verify with git remote -v:
origin    https://github.com/[your-username]/workshops.git (fetch)
origin    https://github.com/[your-username]/workshops.git (push)
upstream  https://github.com/NuevoFoundation/workshops.git (fetch)
upstream  no_push (push)
Build and test locally
From the workshops directory, run:
hugo server -D
-Dincludes draft content so you can preview work in progress.- The site builds in a few seconds and is available at http://localhost:1313/.
- Hugo watches for file changes and live-reloads your browser automatically.
To stop the server, press Ctrl+C.
Keep your fork up to date
Before starting new work, sync with upstream:
git fetch --all --prune
git checkout master
git merge upstream/master
git push origin master
Sample walkthrough
Scenario: Make a simple change and submit a pull request.
Create a topic branch
Make sure your fork is up to date first:
git checkout master
git checkout -b my-change
git push --set-upstream origin my-change
Make your edit
Open the repo folder in VS Code. Navigate to the file you want to change. For this example, edit content/english/guidelines/getting-started.md. For a deeper understanding of the file structure, see how the site is built
.
Commit and push
git add content/english/guidelines/getting-started.md
git commit -m "Description of what changed"
git push
Tip: Use git commit -am "message" to stage all modified files and commit in one step.
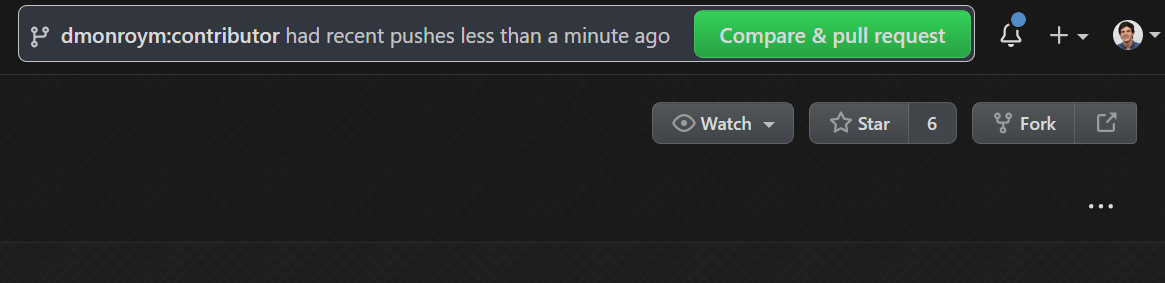
Open a pull request
Navigate to your fork on GitHub. You should see a prompt to create a pull request from your recent push:
If you don’t see the prompt, go to Pull Requests > New pull request:
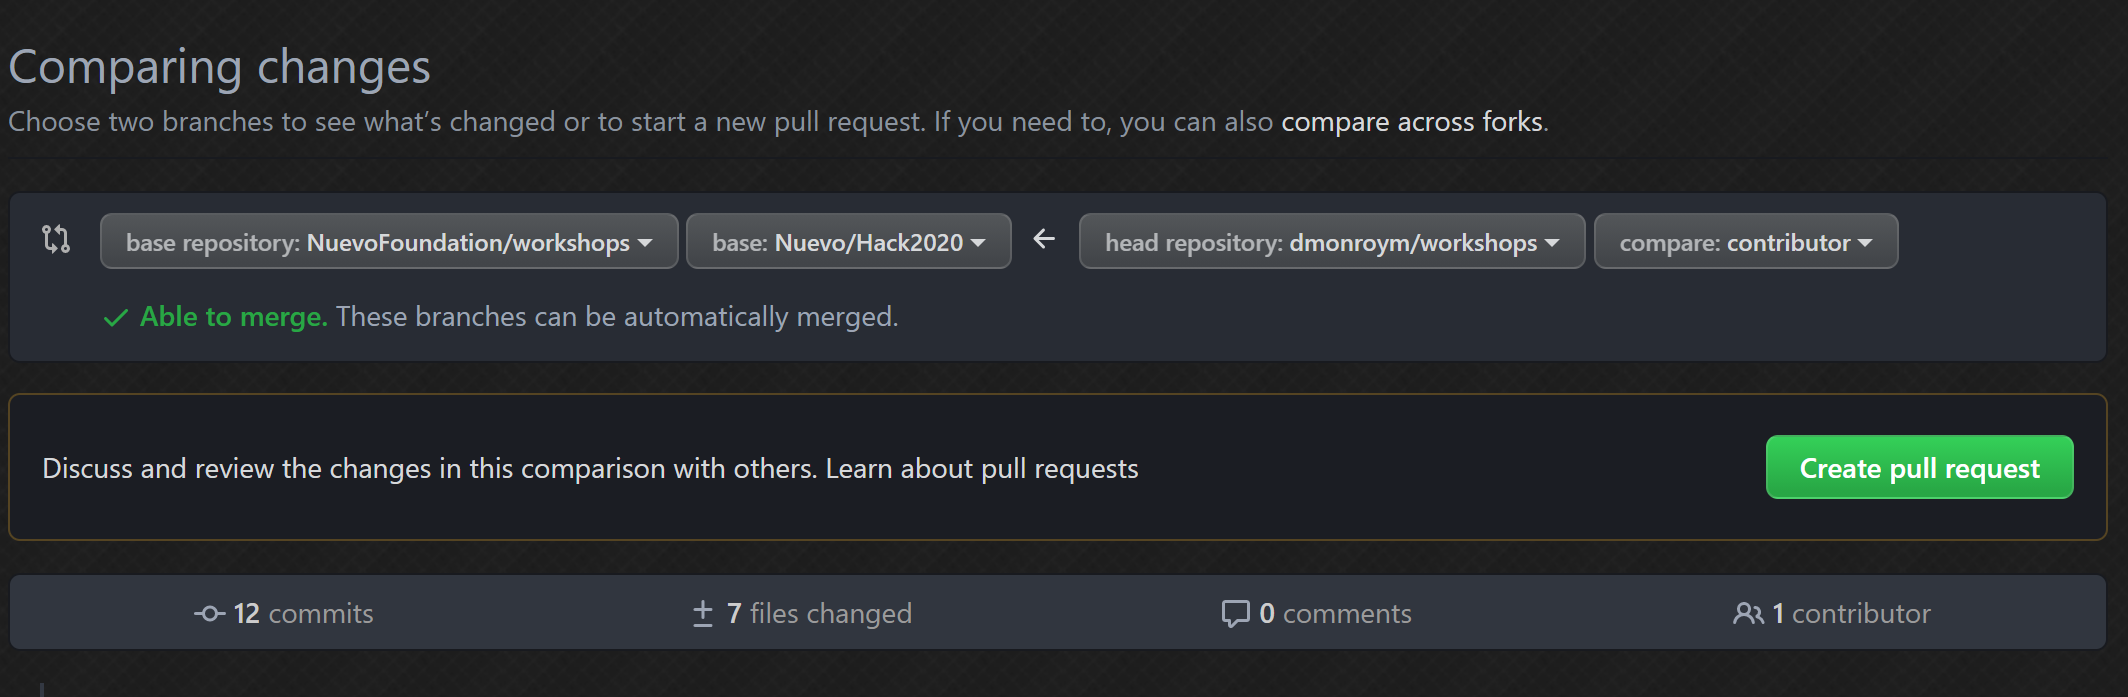
Make sure your base branch (target) and head branch (source) are correct, add a title and description, then submit.