Using Replit
Sign up and Launch Replit
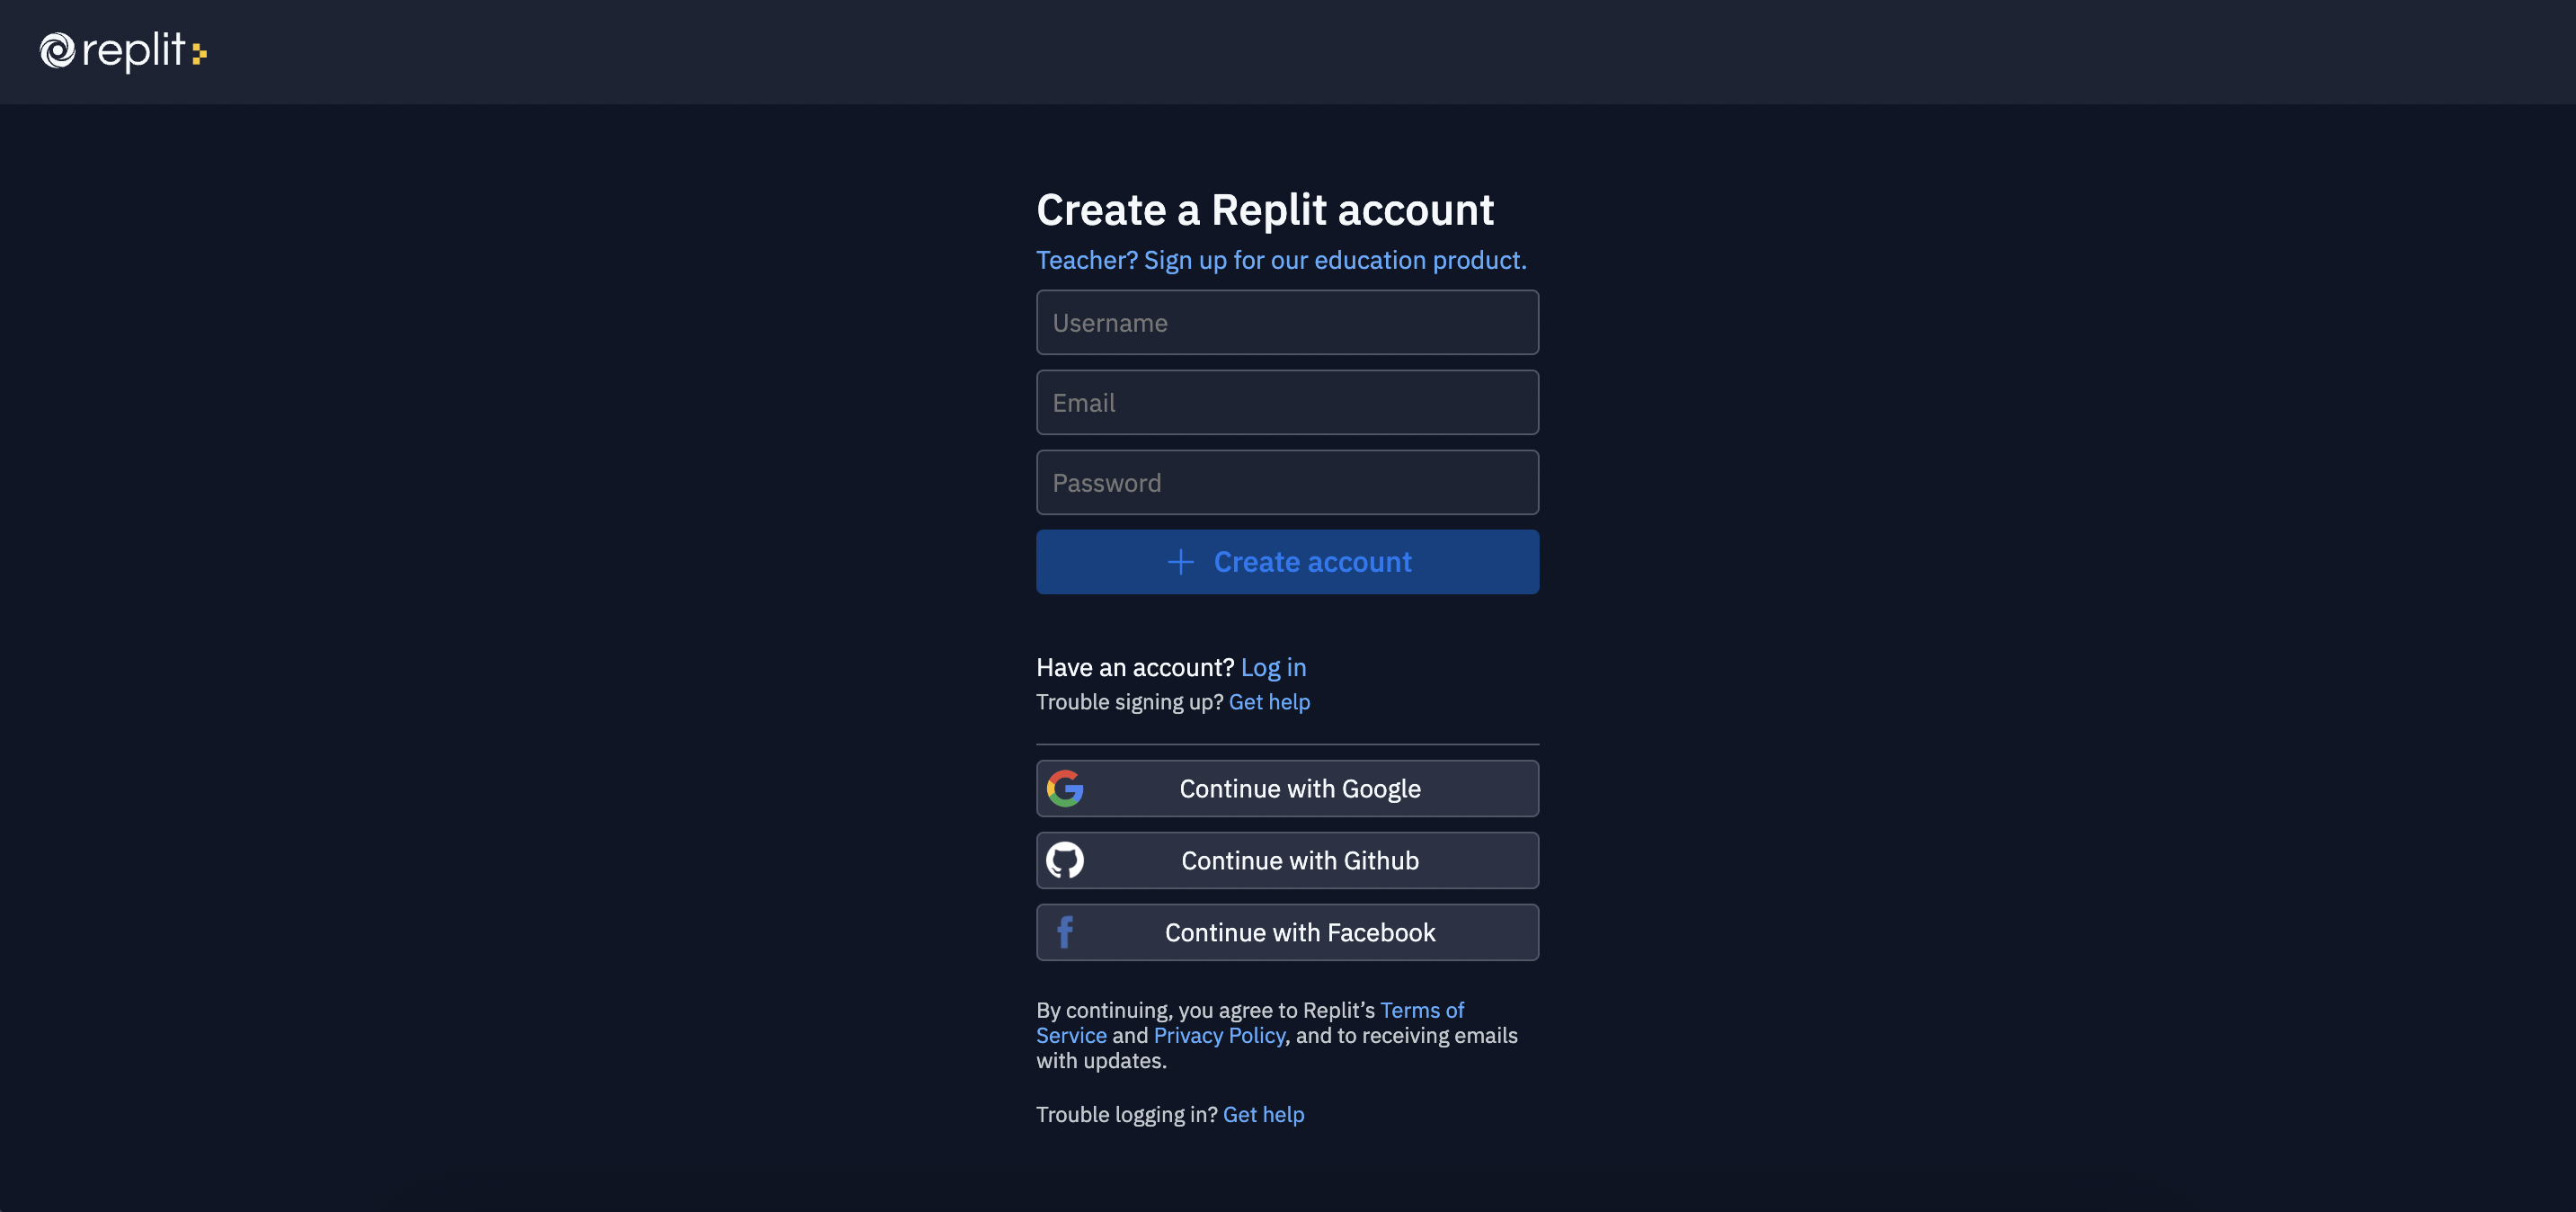
Today you will be using Replit to learn how to code in C#. Before starting, you will need to sign up for a Replit account, if you do not yet have one.
Click the button below to sign up for a Replit account - you will need an email account in order to sign up. If you already have a Replit account, you can login to your account using the below button as well.
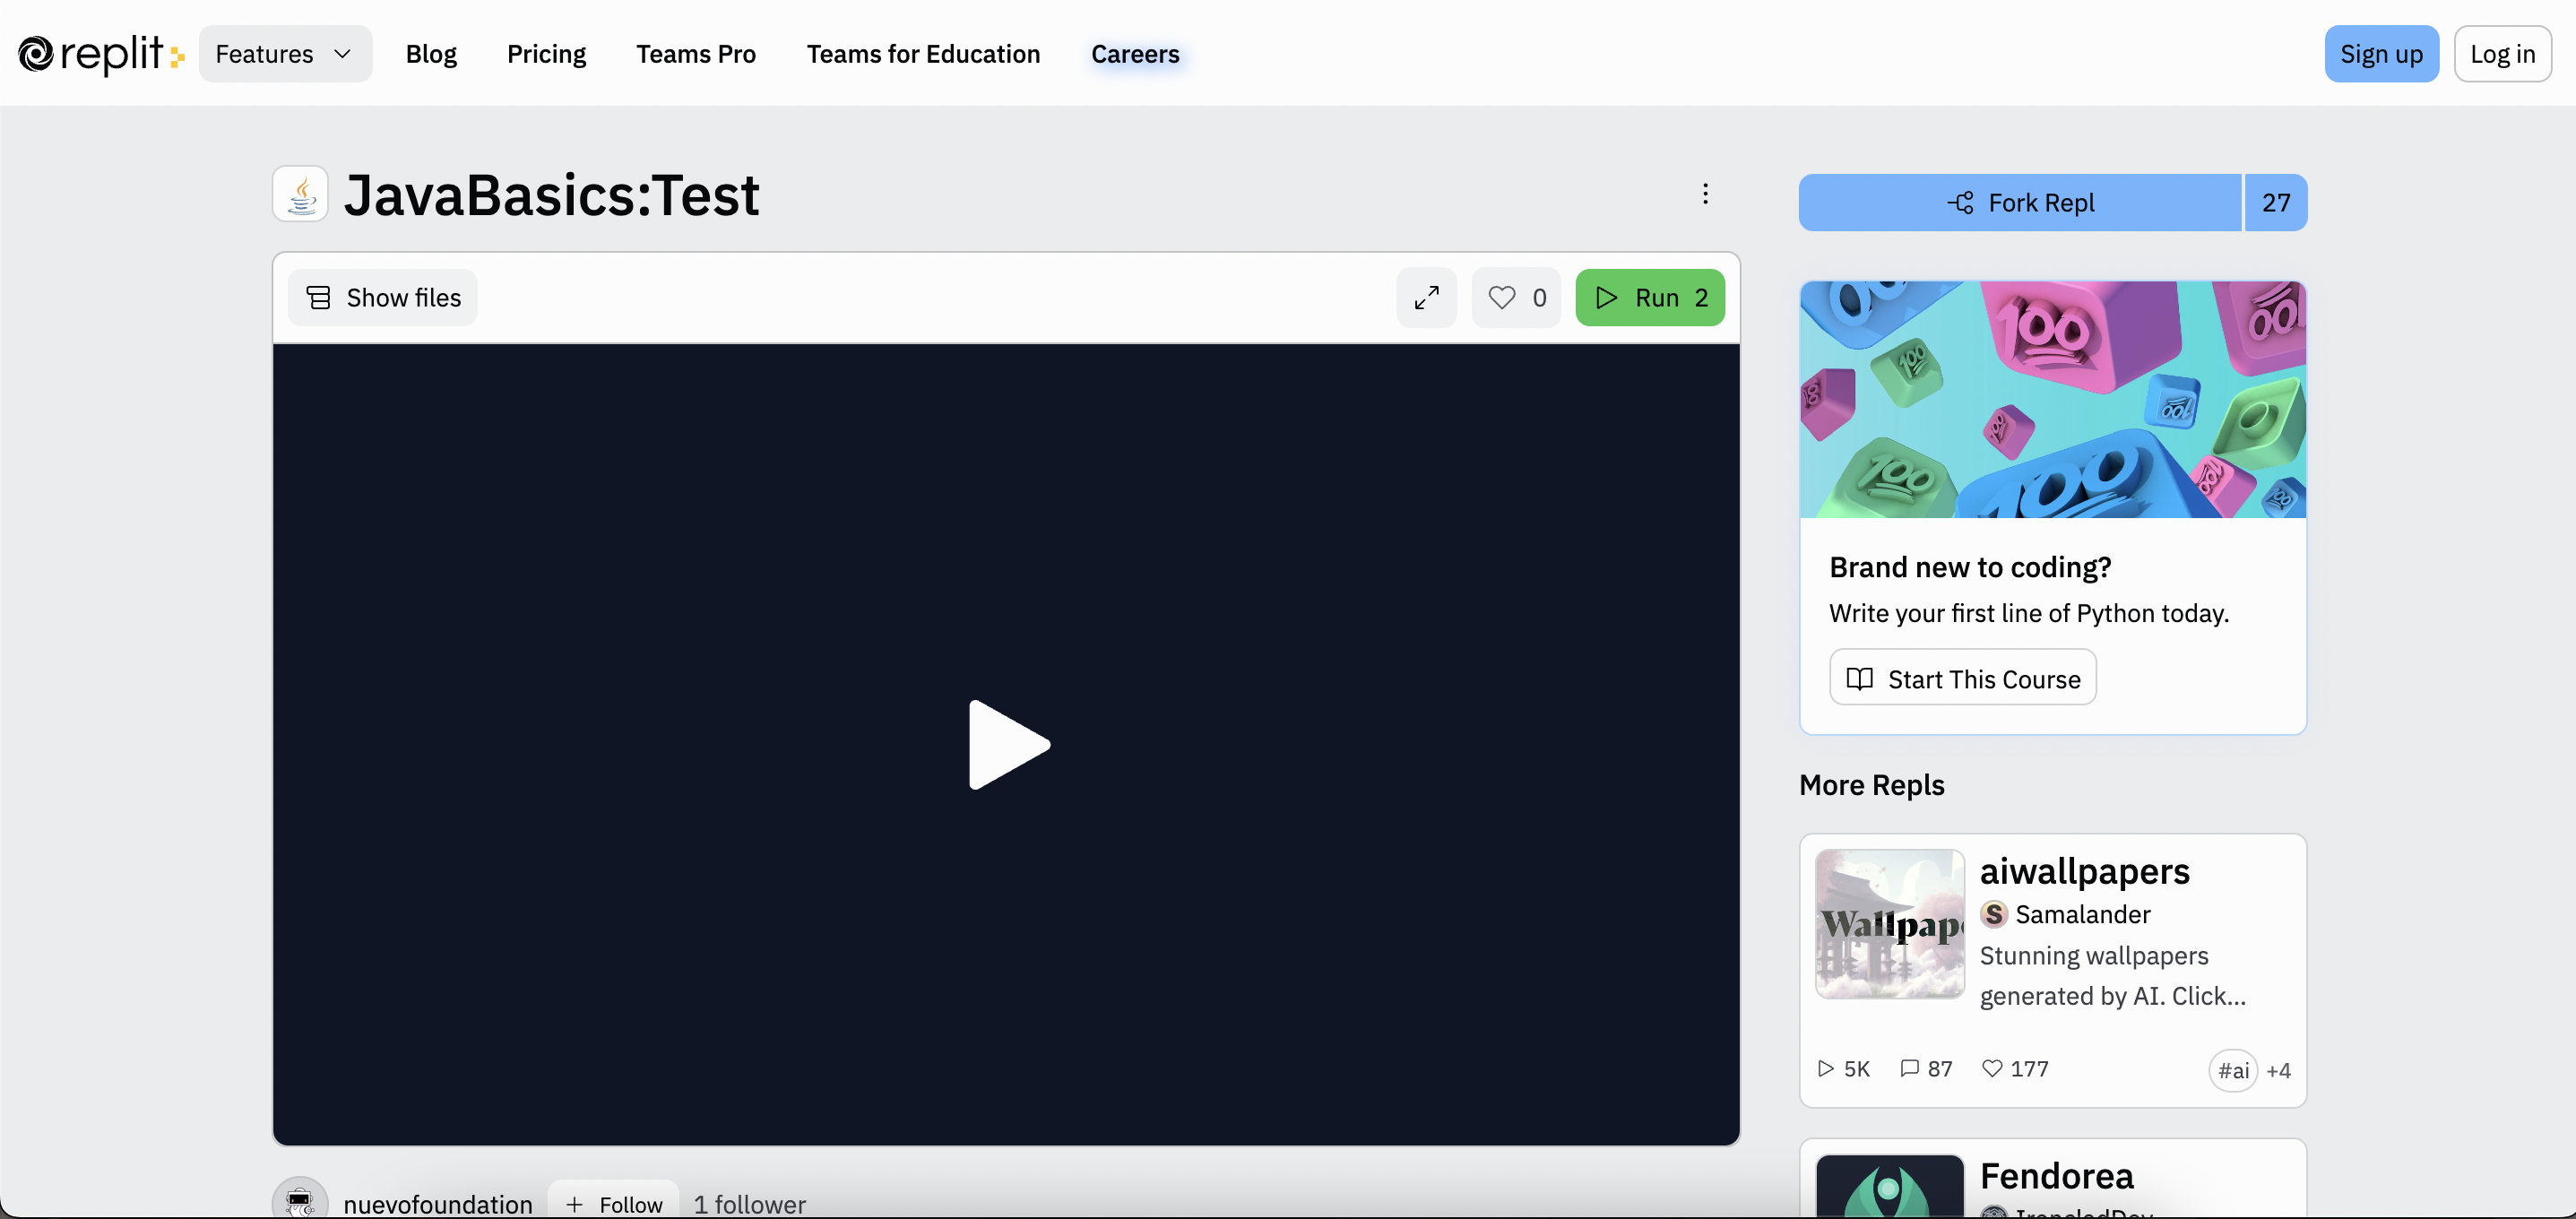
Next, launch the Replit console we will use today by clicking the below button. You should see the screen below.
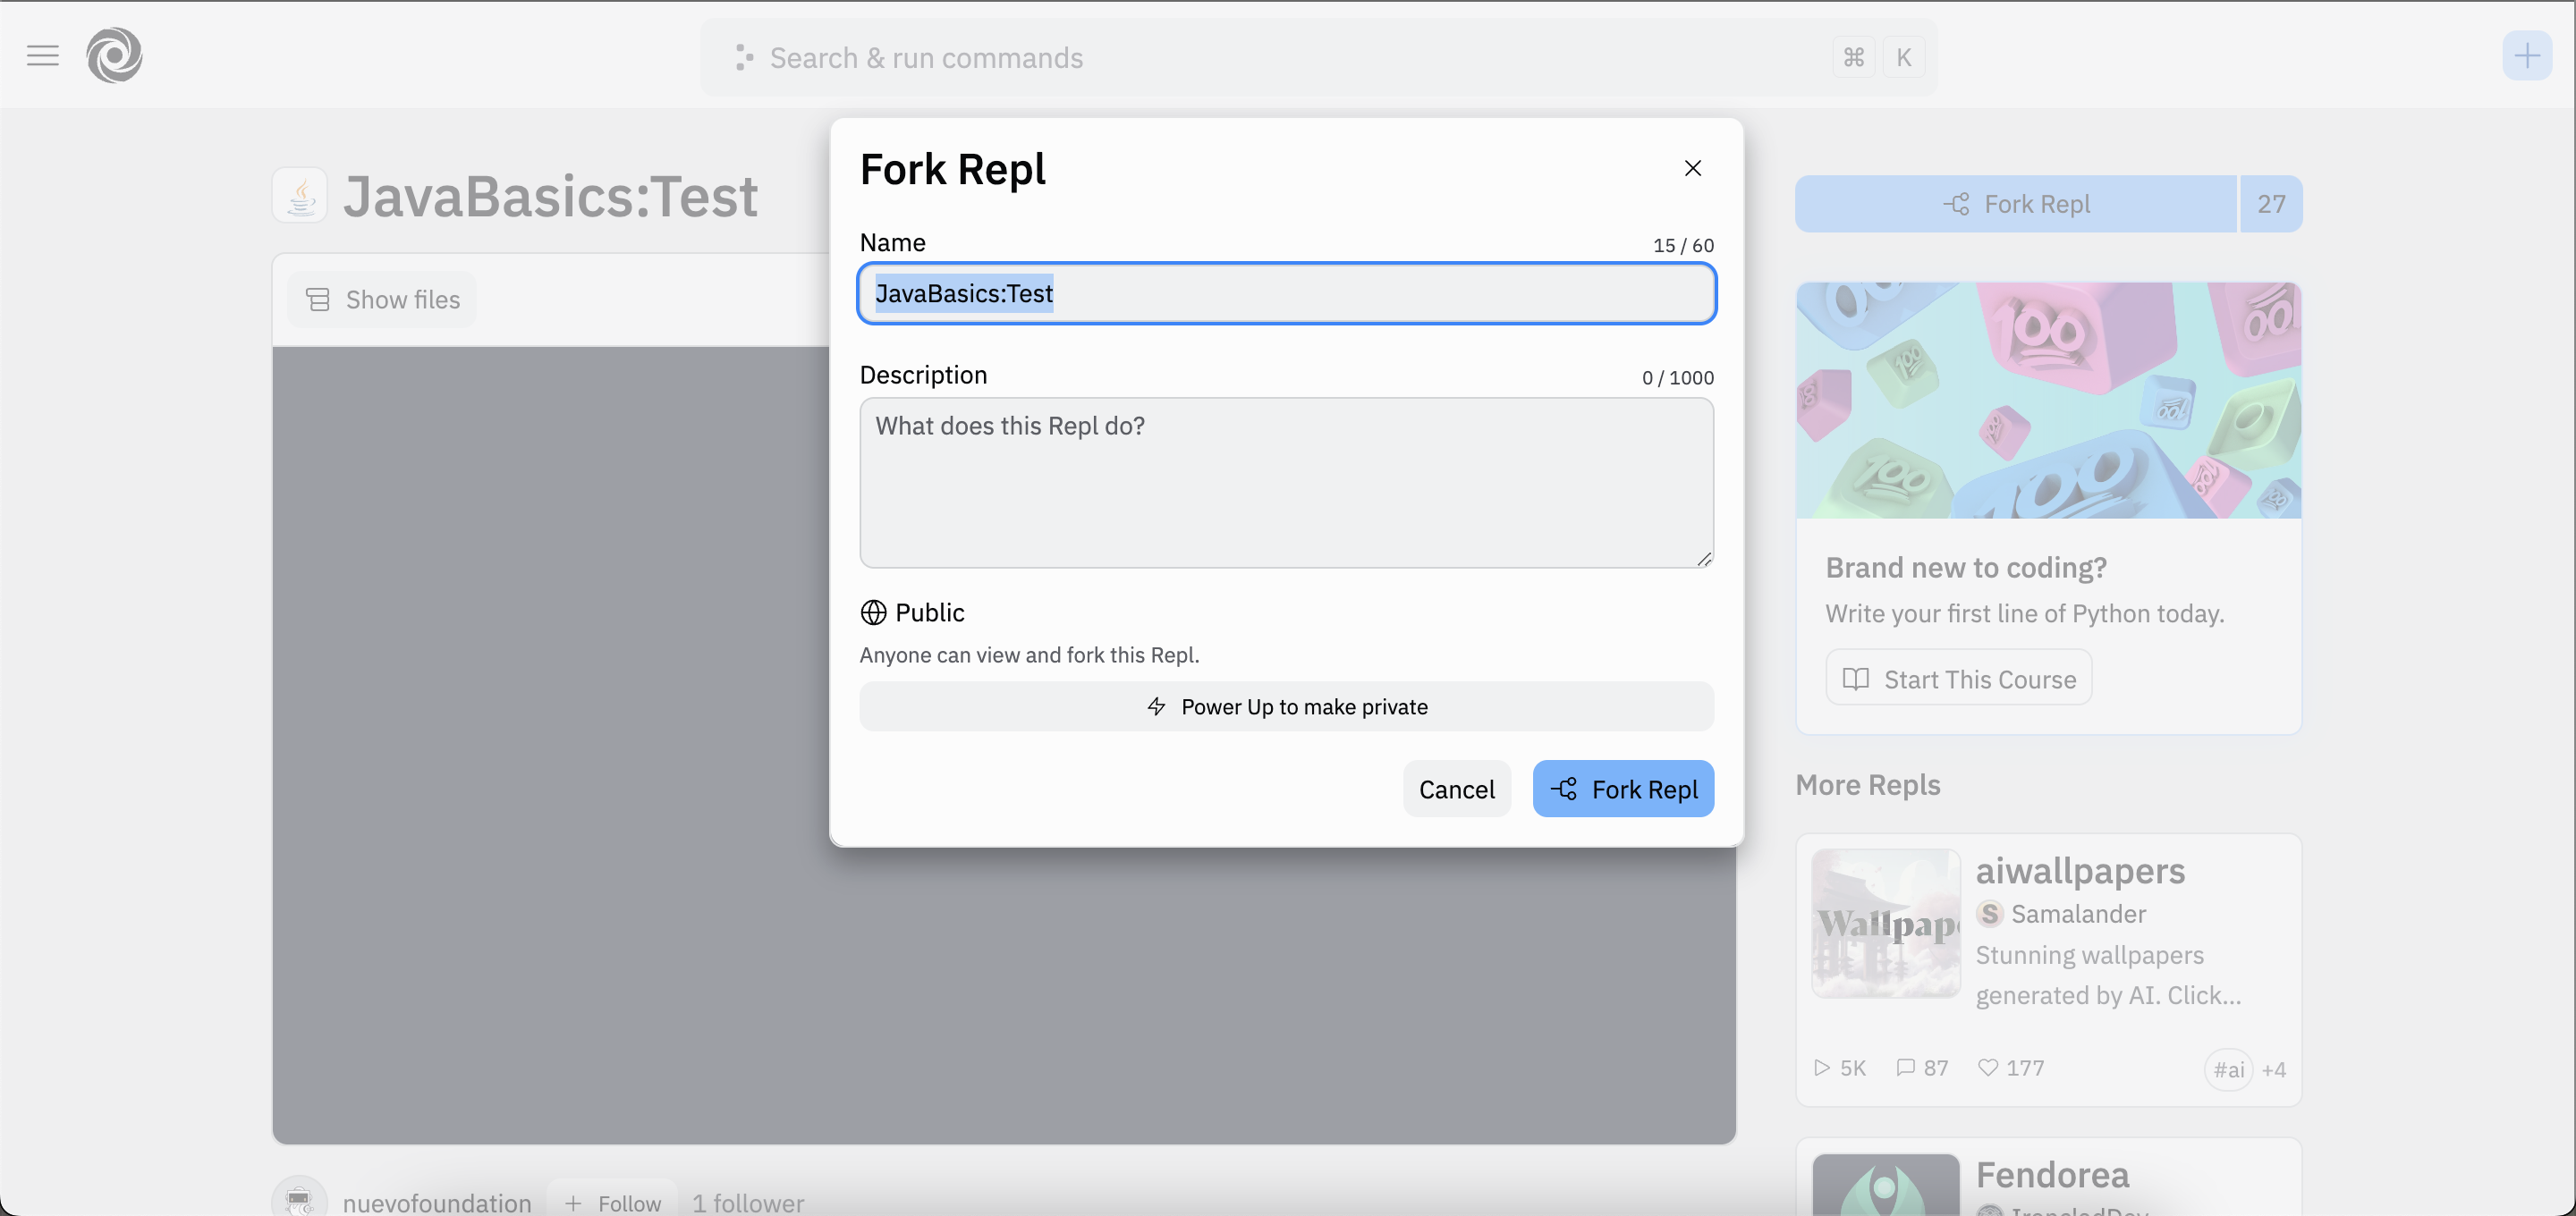
We will now fork the Repl, which simply means to make a copy of the program, so that we can make our own changes to it. Click on the “Fork Repl” button on the top right, and then the “Fork Repl” button.
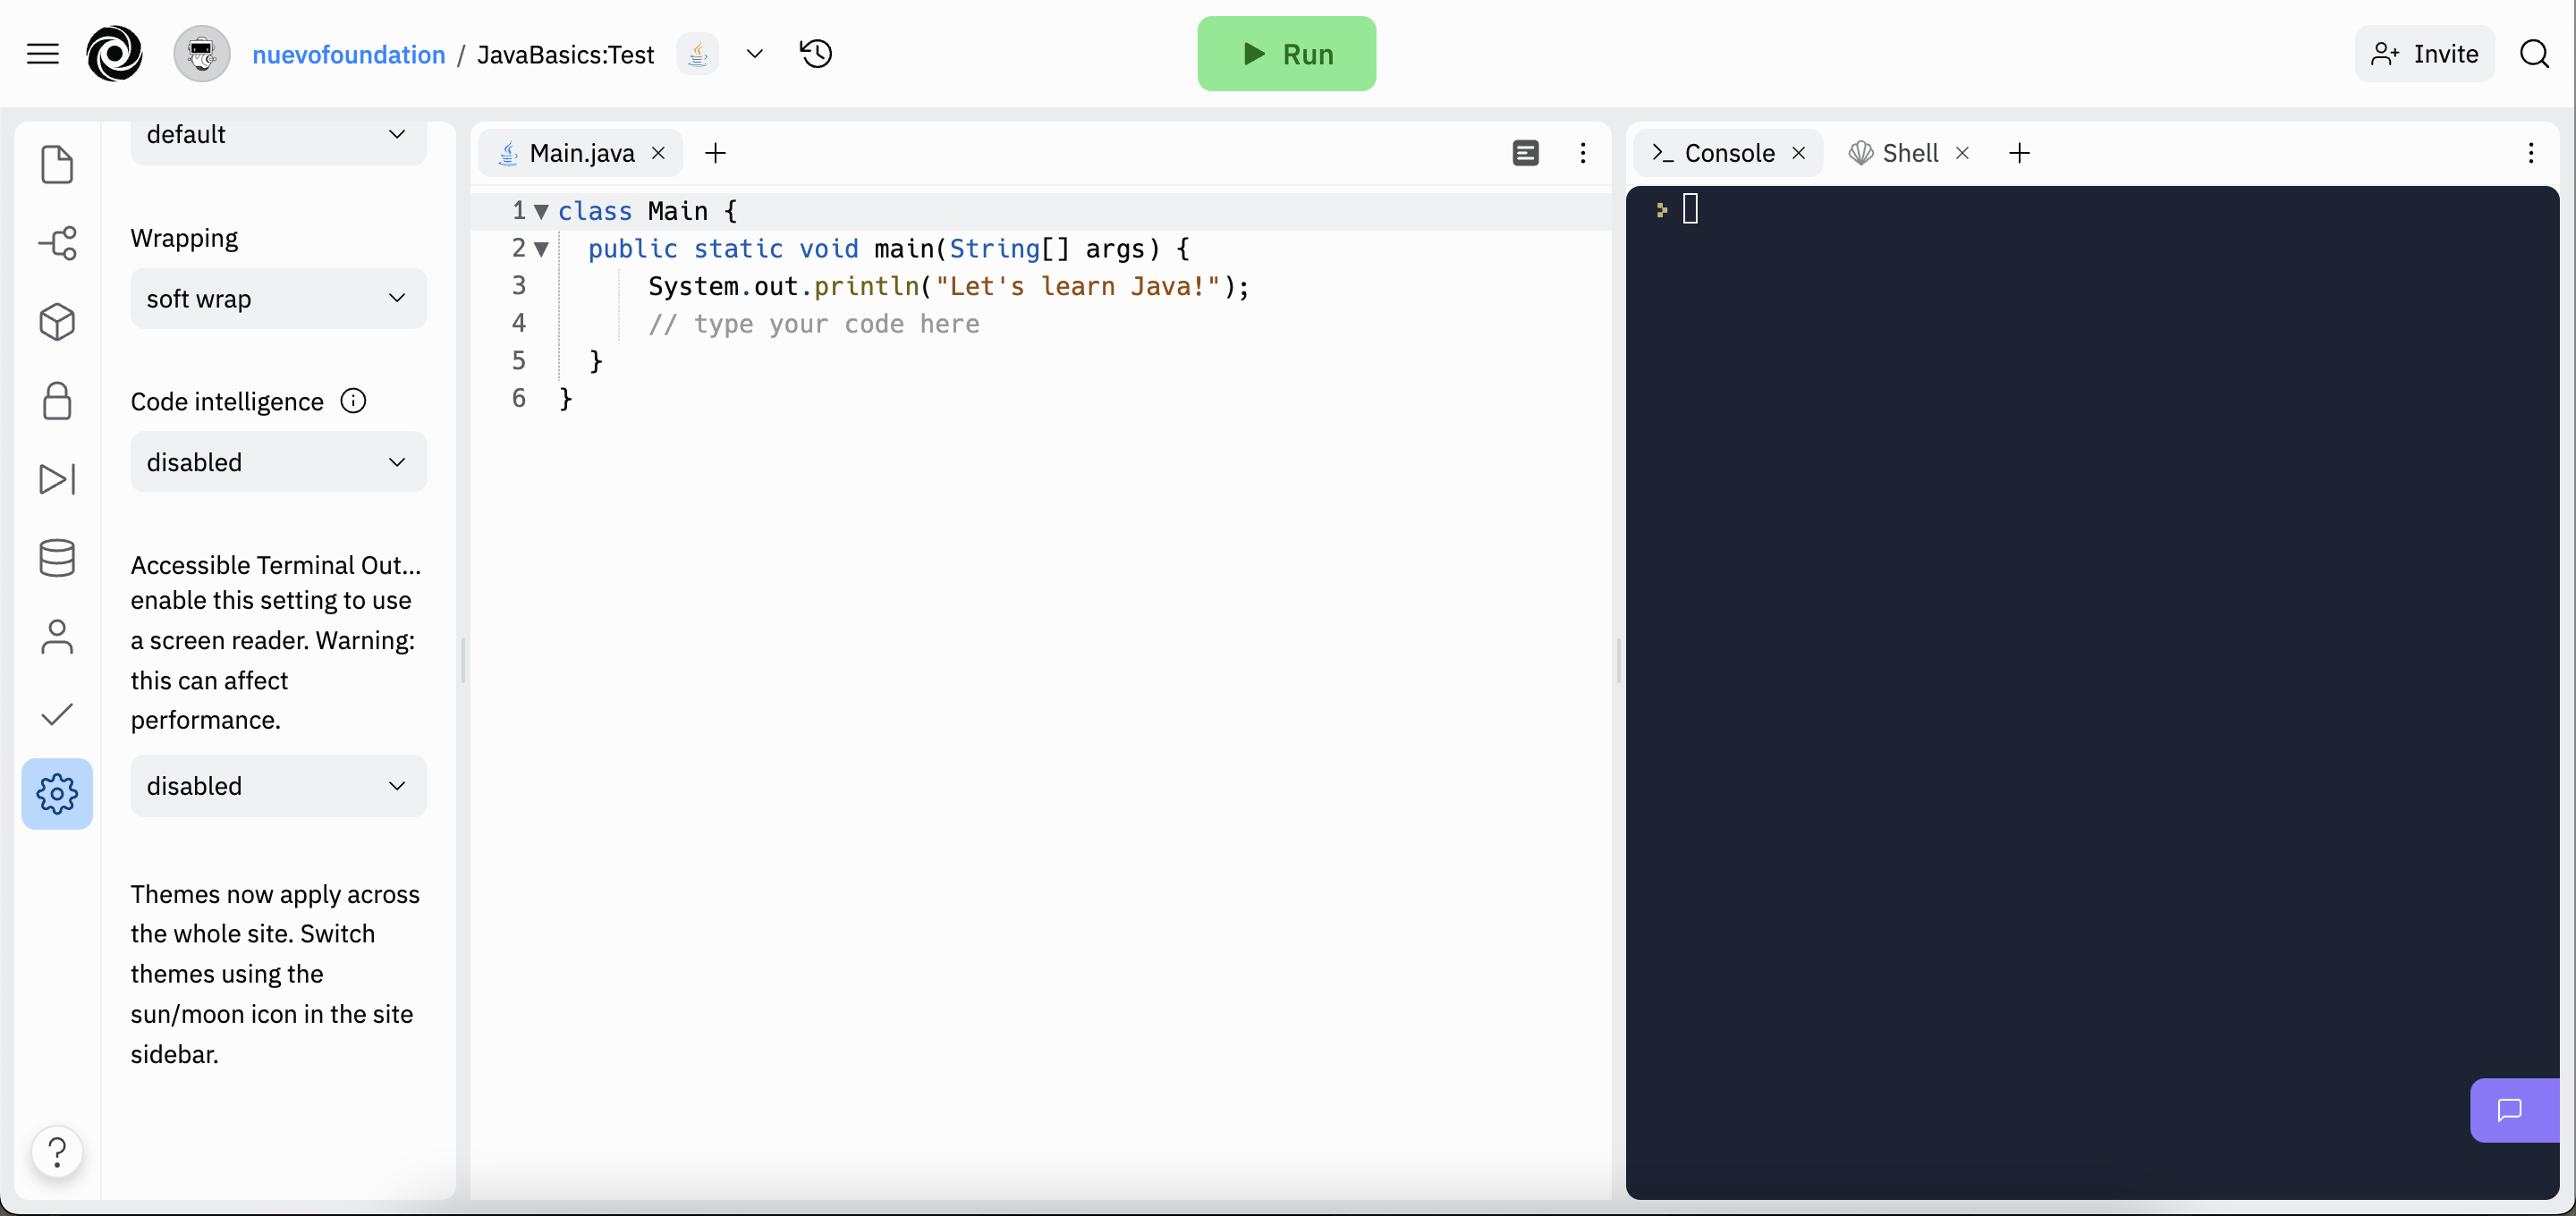
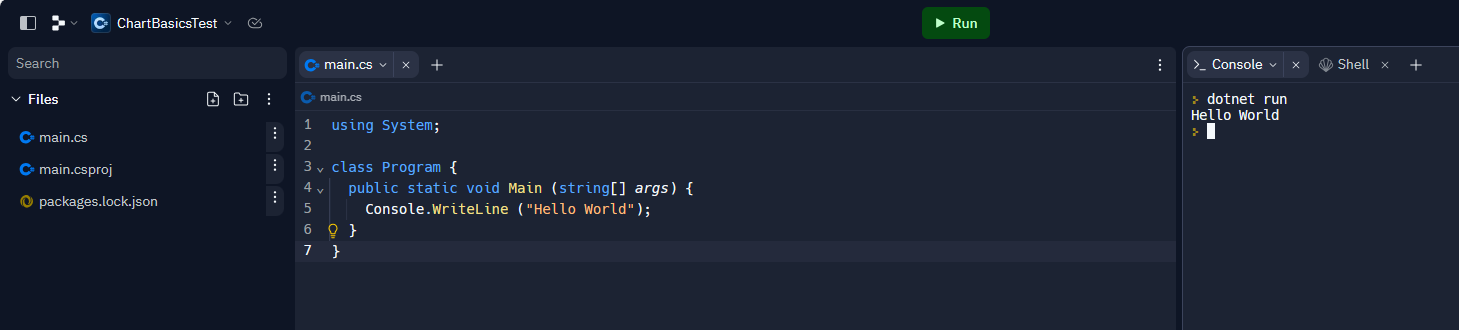
After forking the Replit, you will see a window similar to the one below:
Every time you see the “Launch Replit” button, you will need to follow the above steps to fork the repl in order to complete an activity. Ask for help if you are having trouble with forking the repls!
The Replit application derives its name after REPL, which stands for Read-Eval-Print-Loop. Many development tools have REPL features. Replit is a web site that uses this common approach for learning and developing software.
Using Replit
Before we start, let’s first understand how the window works. On the left side you have a list of files for this repl. The main.cs file contains code, or instructions for the computer to run, which are shown in the middle of the screen when the file is selected. By pressing the run button (the green button with the triangle in the middle at the top of the frame), you tell the computer to perform the instructions in the code. The results from running the code will be displayed on the right side of the screen, under the Console tab.
Some tips on C#
A few important tips:
- Files containing C# code have a .cs suffix, such as main.cs.
- Each line of code ends with a semicolon
; - The other files shown in the file list are necessary for our program to run, but not important for this project.
- There will be code in the examples that you don’t understand. That is ok, ignore for now and focus on the task you are working on.